Travelling around New Zealand is a once in a lifetime adventure for many, and what better way to experience its breathtaking beauty than a 24-day road trip in a camper van. There are lots of different airports that you can fly into in New Zealand, but the main ones are Christchurch and Queenstown In the south, and Wellington and Auckland in the north. Take a look on skyscanner.com to find the best times and prices for you!
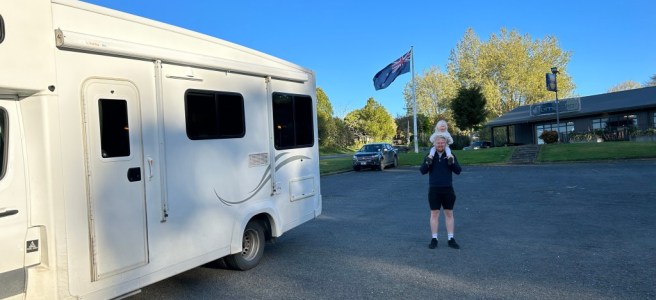
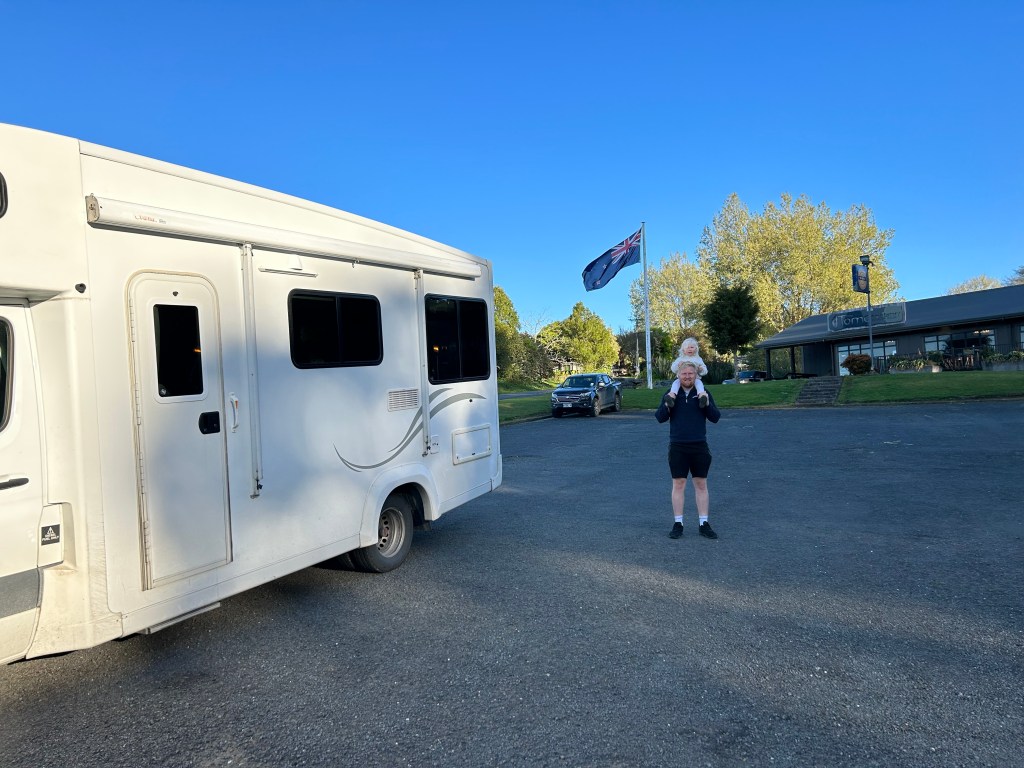
This itinerary is based on flying into Christchurch and out from Auckland. We rented our camper van through Britz; they picked us up from the airport in a minivan and took us to their office to pick up our camper.
We went with our 2-year old daughter, so all of the days and experiences are completely child/toddler friendly! If you’re planning on travelling with a child, take a look at our Downloadable New Zealand Activity Pages and Travel Journal to keep them entertained on the journey and give them an insight into the culture before you go!
*This site contains product affiliate links. We may receive a commission if you make a purchase after clicking on one of these links.*
WAIT! Before you begin planning your route, why not take a look at Everything You Need to Know Before Travelling New Zealand!
SOUTH ISLAND
Day 1 & 2
LAKE TEKAPO
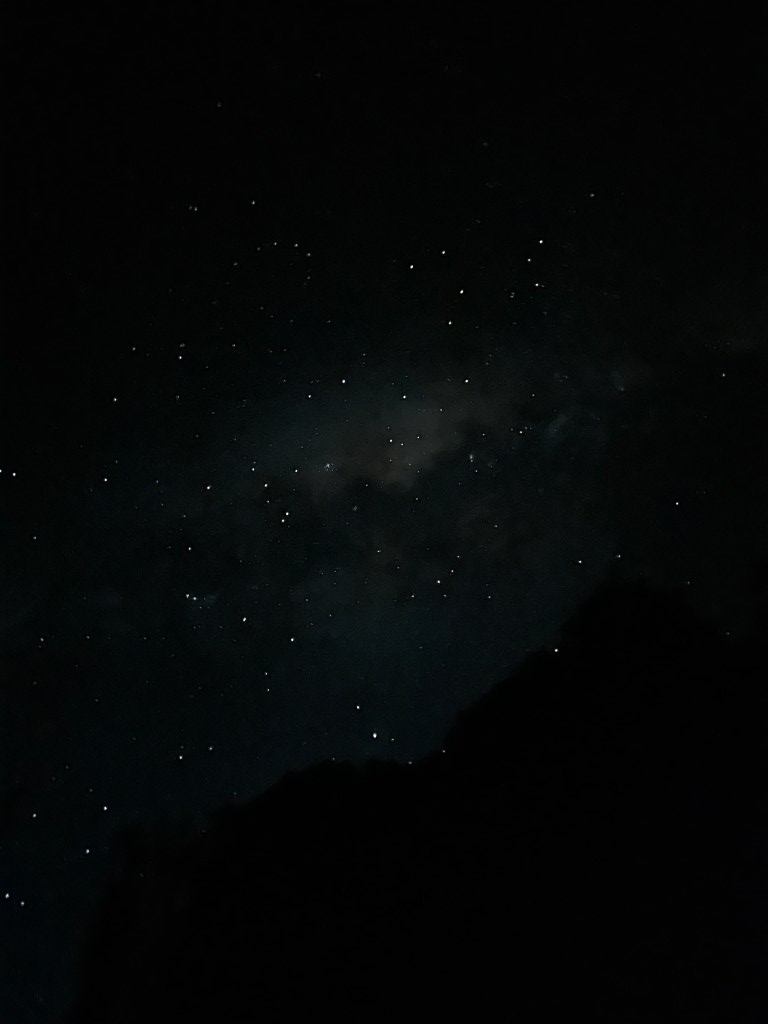
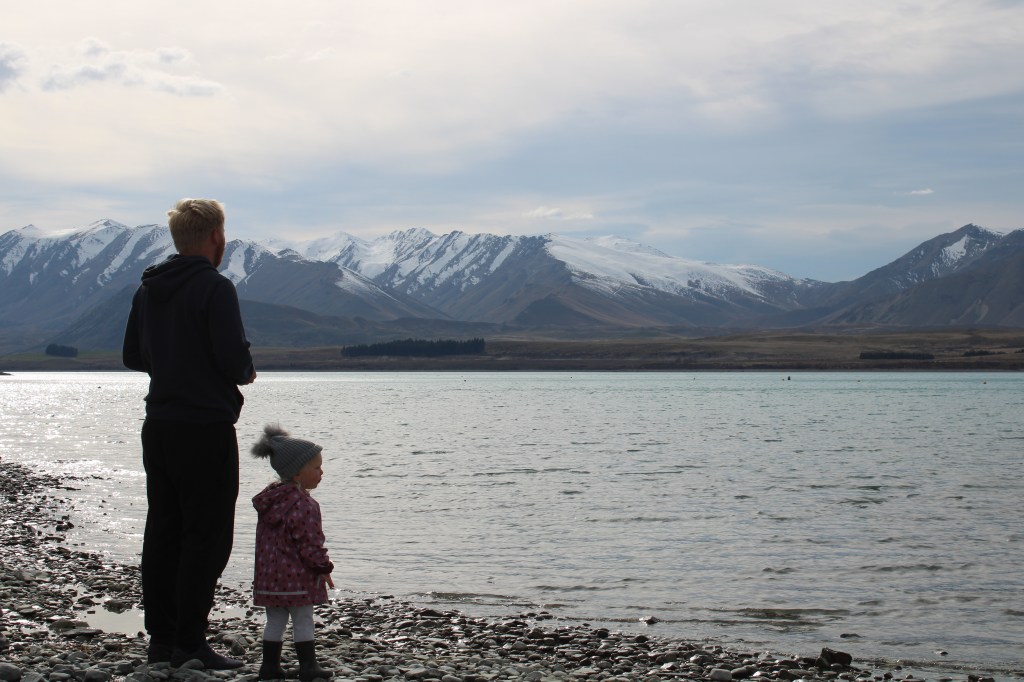
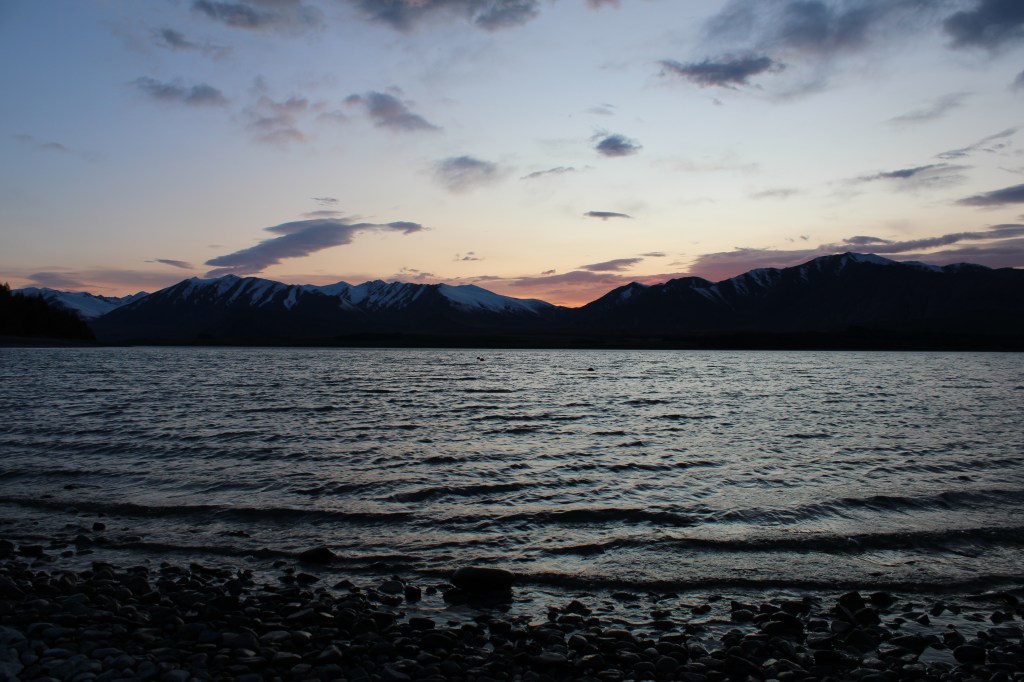
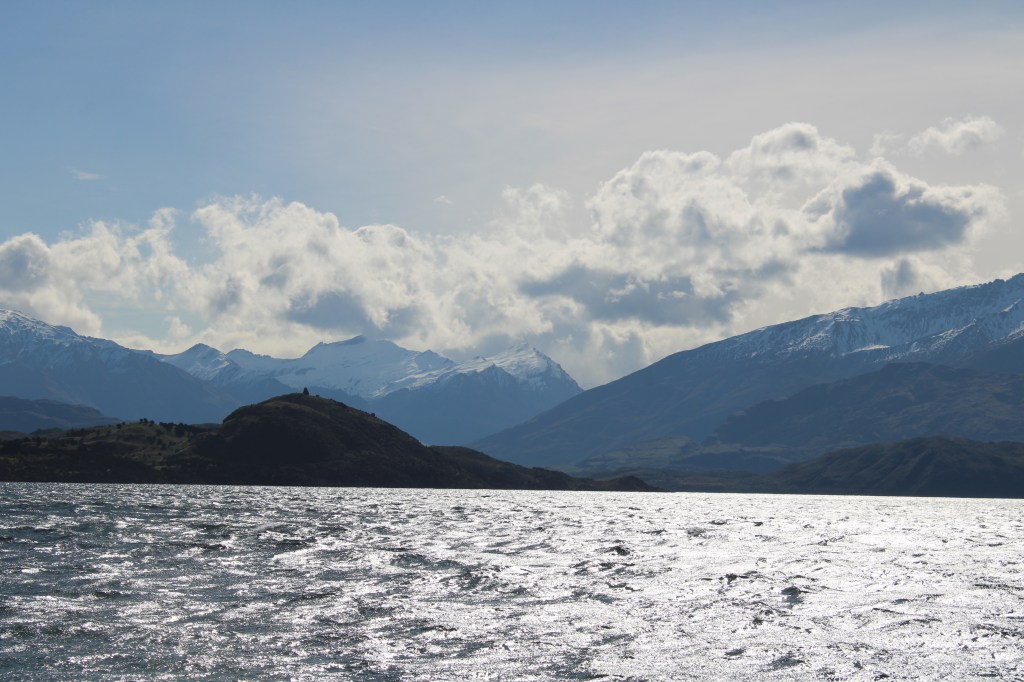
The first place to visit is Lake Tekapo, just under 3 hours from Christchurch Airport. Its beautiful clear blue waters are surrounded by mountains and trees, and it’s the perfect way to relax into the trip. We originally thought about staying in Christchurch for the first night and onto Lake Tekapo for the second, but in the end we wanted to get straight into the peace instead of staying in a city and there wasn’t much that we wanted to see in Christchurch (although this is also an option if you wanted to break the two days up). Lake Tekapo is in the middle of a dark sky reserve and the sky is stunning at night. Even if it’s chilly, it’s definitely worth spending some time outside in the dark to appreciate the stars!
There is a huge stone ‘beach’ area around the lake and lots of opportunities for walks, as well as a few shops and cafes. The best campsite here is Lakes Edge campsite which was actually one of my favourites from the whole time we were in New Zealand (although I’m not sure if it was maybe just the fact that it was our first stop and was a bit of a novelty at the time?).
Other than relax and soak up the stars, there’s also Tekapo Hot Springs which is only a 5 minute walk away from the campsite. It’s got different temperature pools sat up in the rocks with beautiful views over the lake and the mountains. It costs only $35NZD per adult, and $20NZD for children (under 2’s are free – one of the great ways of travelling cheaply with a child!), and you go in and out as many times as you want all day.

Day 3 & 4
QUEENSTOWN
We woke up early on the third day and travelled to Queenstown which is a beautiful 3 hour drive. There are loads of places to stop and get some great pictures as the scenery through Lindis Pass was amazing. We took our time travelling that day and stopped at some of the scenic picnic spots to pull over and have some lunch. We arrived into Queenstown at around 2:30pm and had a jet boat ride booked at 3, so we parked in the car park on Boundary Street as it’s only a short 10 minute walk down to the harbour.
We stayed at the Qbox campsite as it seemed to be the only one within walking distance of the main town, but there were some other cheap/free ones on the roads surrounding the town that looked quite good if you’re on a budget and are happy to drive in and out of the town (it’s best to check on CamperMate). The campsite was pretty bumpy and not as convenient as some of the others we stayed at, but it had all the amenities we needed and was a 20 minute walk from the town (downhill, which is great on the way down but maybe not on the way back up again!).
One thing to note is you should always allow PLENTY of extra time for the journey, and don’t rely on the timings of Google Maps. Either the rain or the wind slows you down, or it doesn’t take into account all of the speed restrictions of a lager vehicle around all the sharp corners. A few times on our trip we thought we’d left loads of time but by the time we’d dumped and filled up with water, we left later than we planned and we only just made it in time for the things we had booked. Also, if you stop and cook for lunch, you then have to wash everything up and put it back safely before you can carry on driving, so just bear all of this in mind when planning your days out.
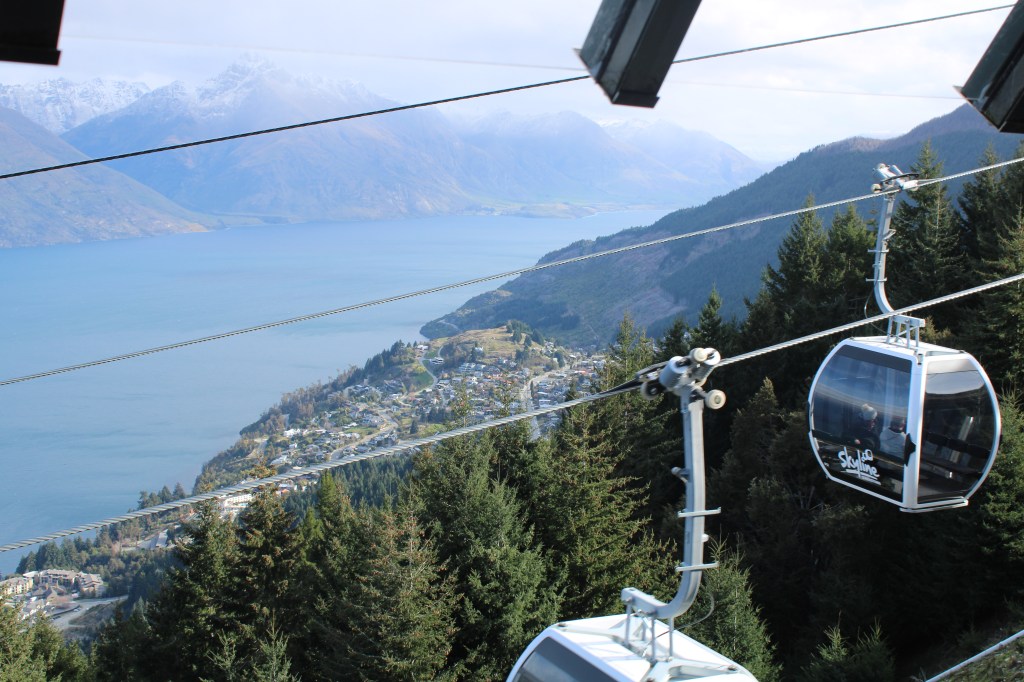
Queenstown is a really quirky town and has some great bars and restaurants, like Whakatipu Brewing Company which had a selection of craft beers and sports on the TV. The food wasn’t anything amazing but it’s a perfect place to stop for a drink. There are loads of things that you can do here which is why we wanted to stay for a couple of days, like the cable car as well as Queenstown’s real bread and butter; a Bungee Jump (come on, you can’t visit the home of the bungee without giving it a go!).
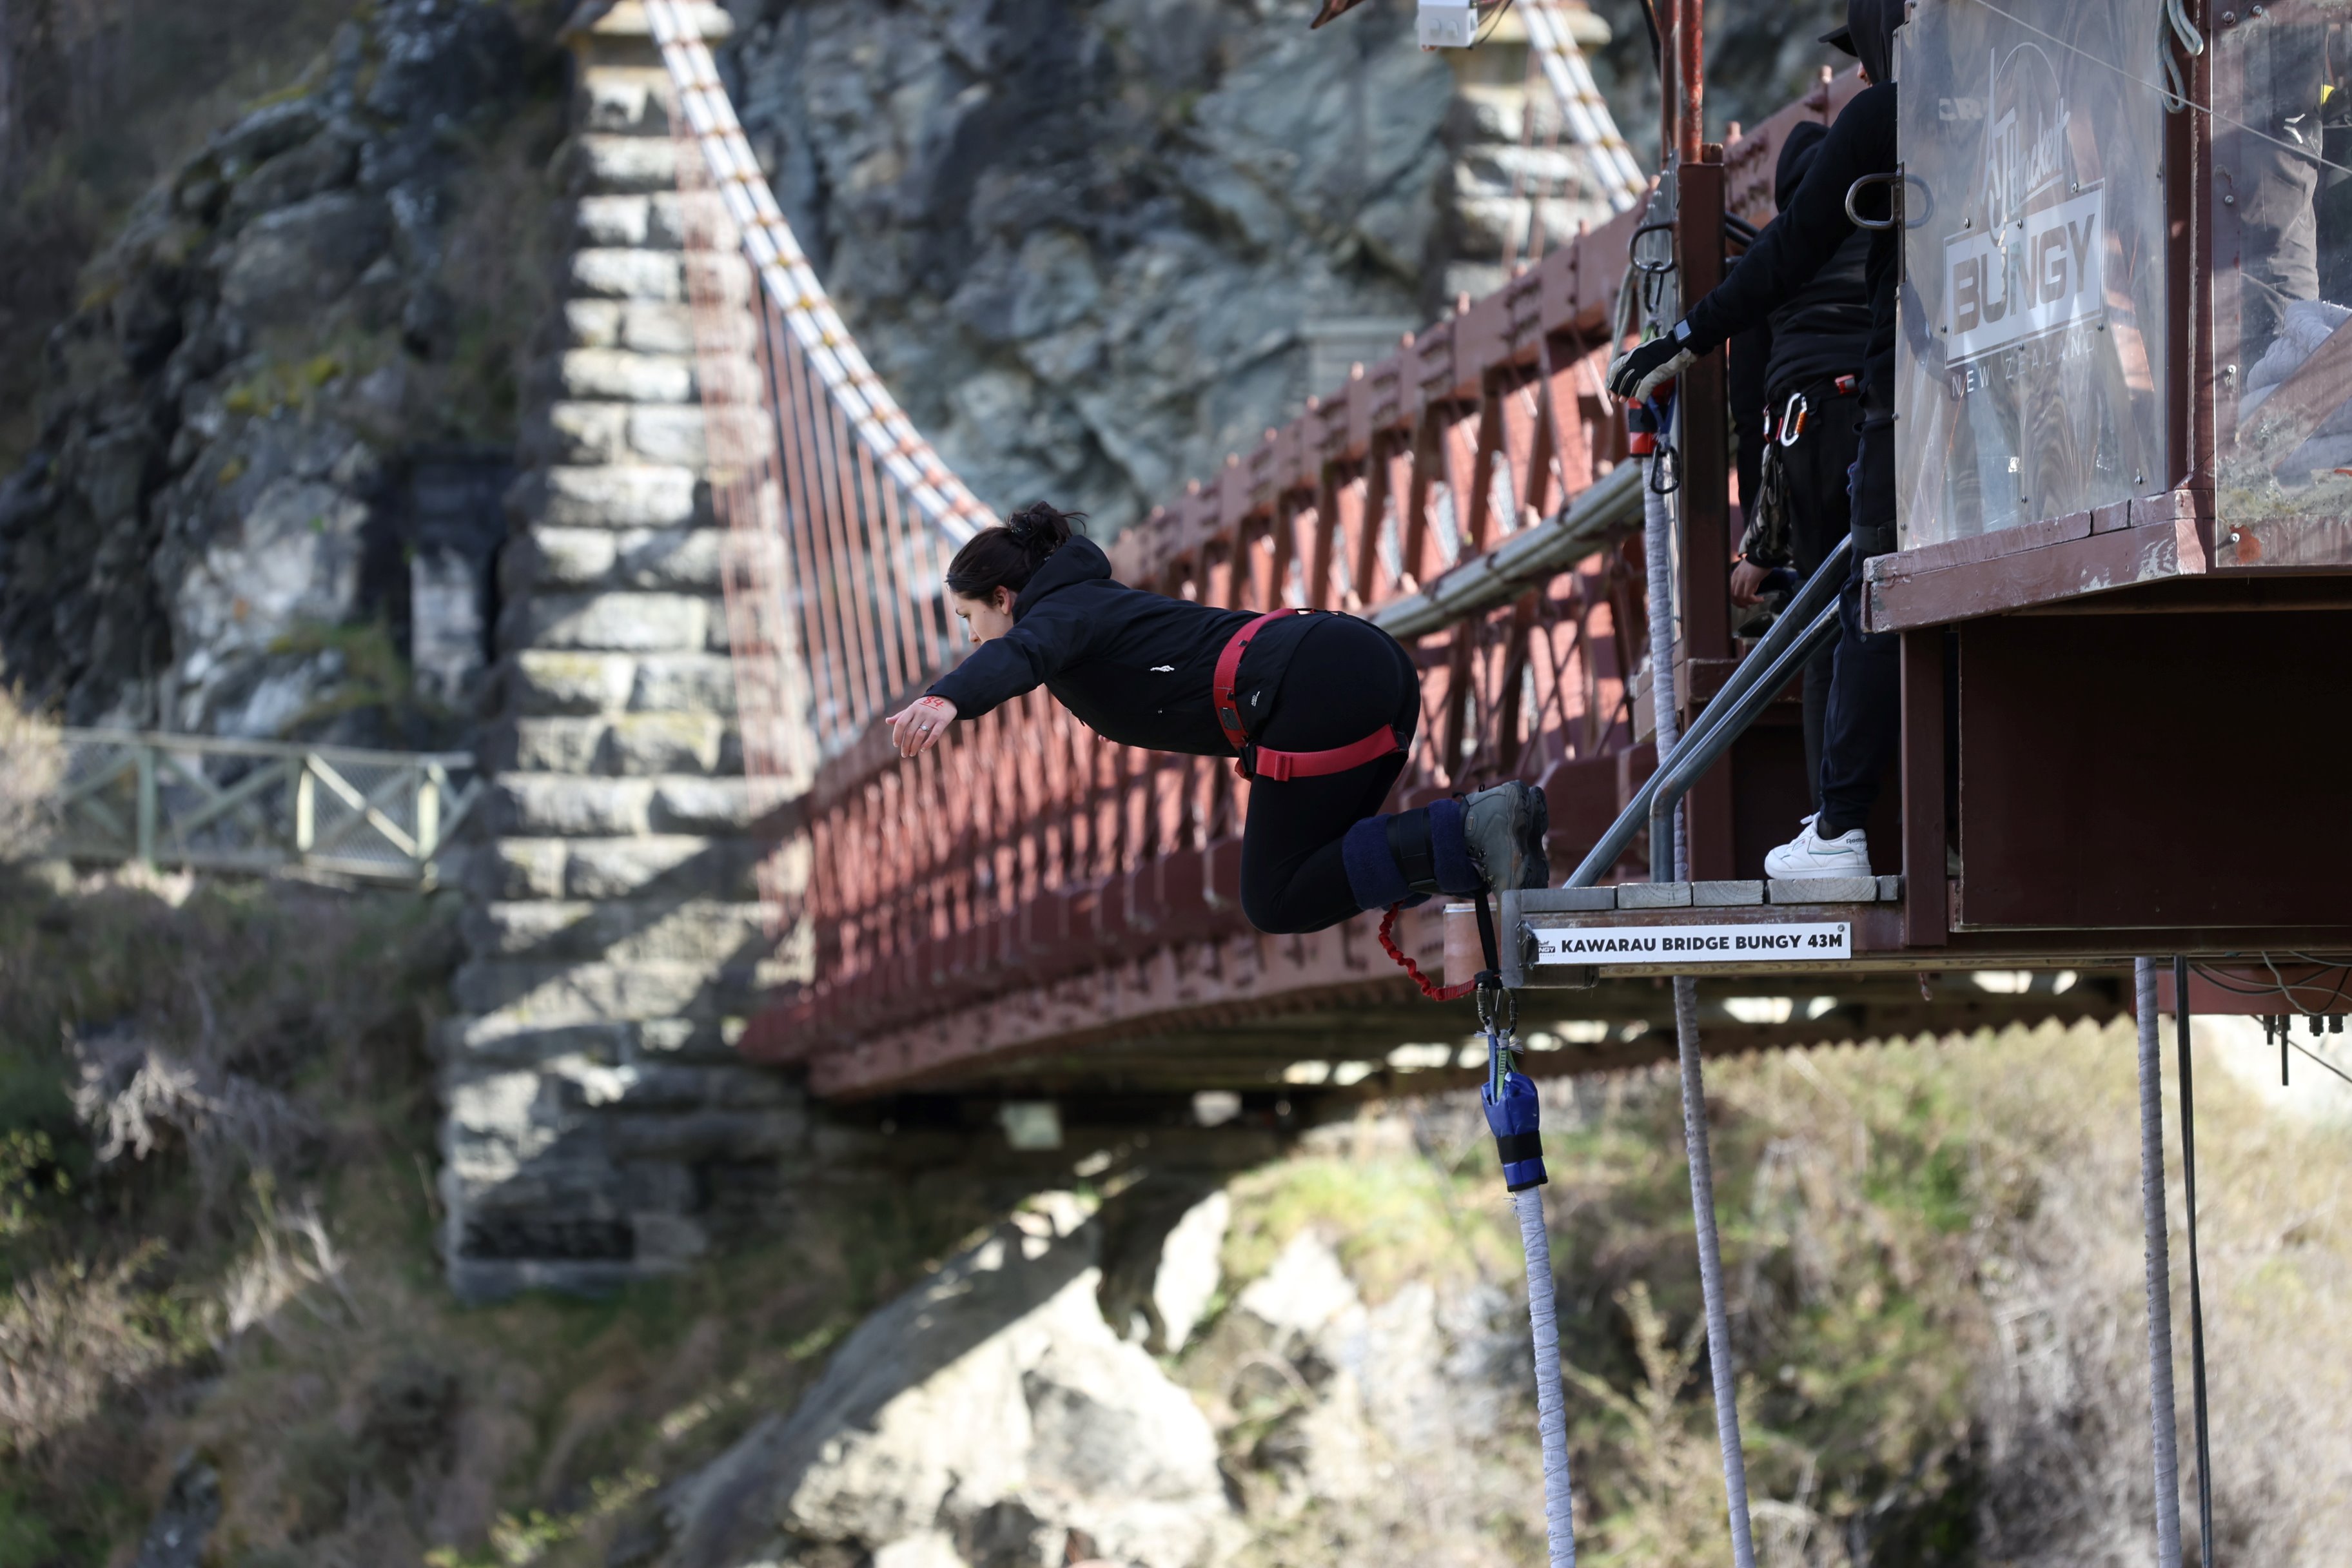
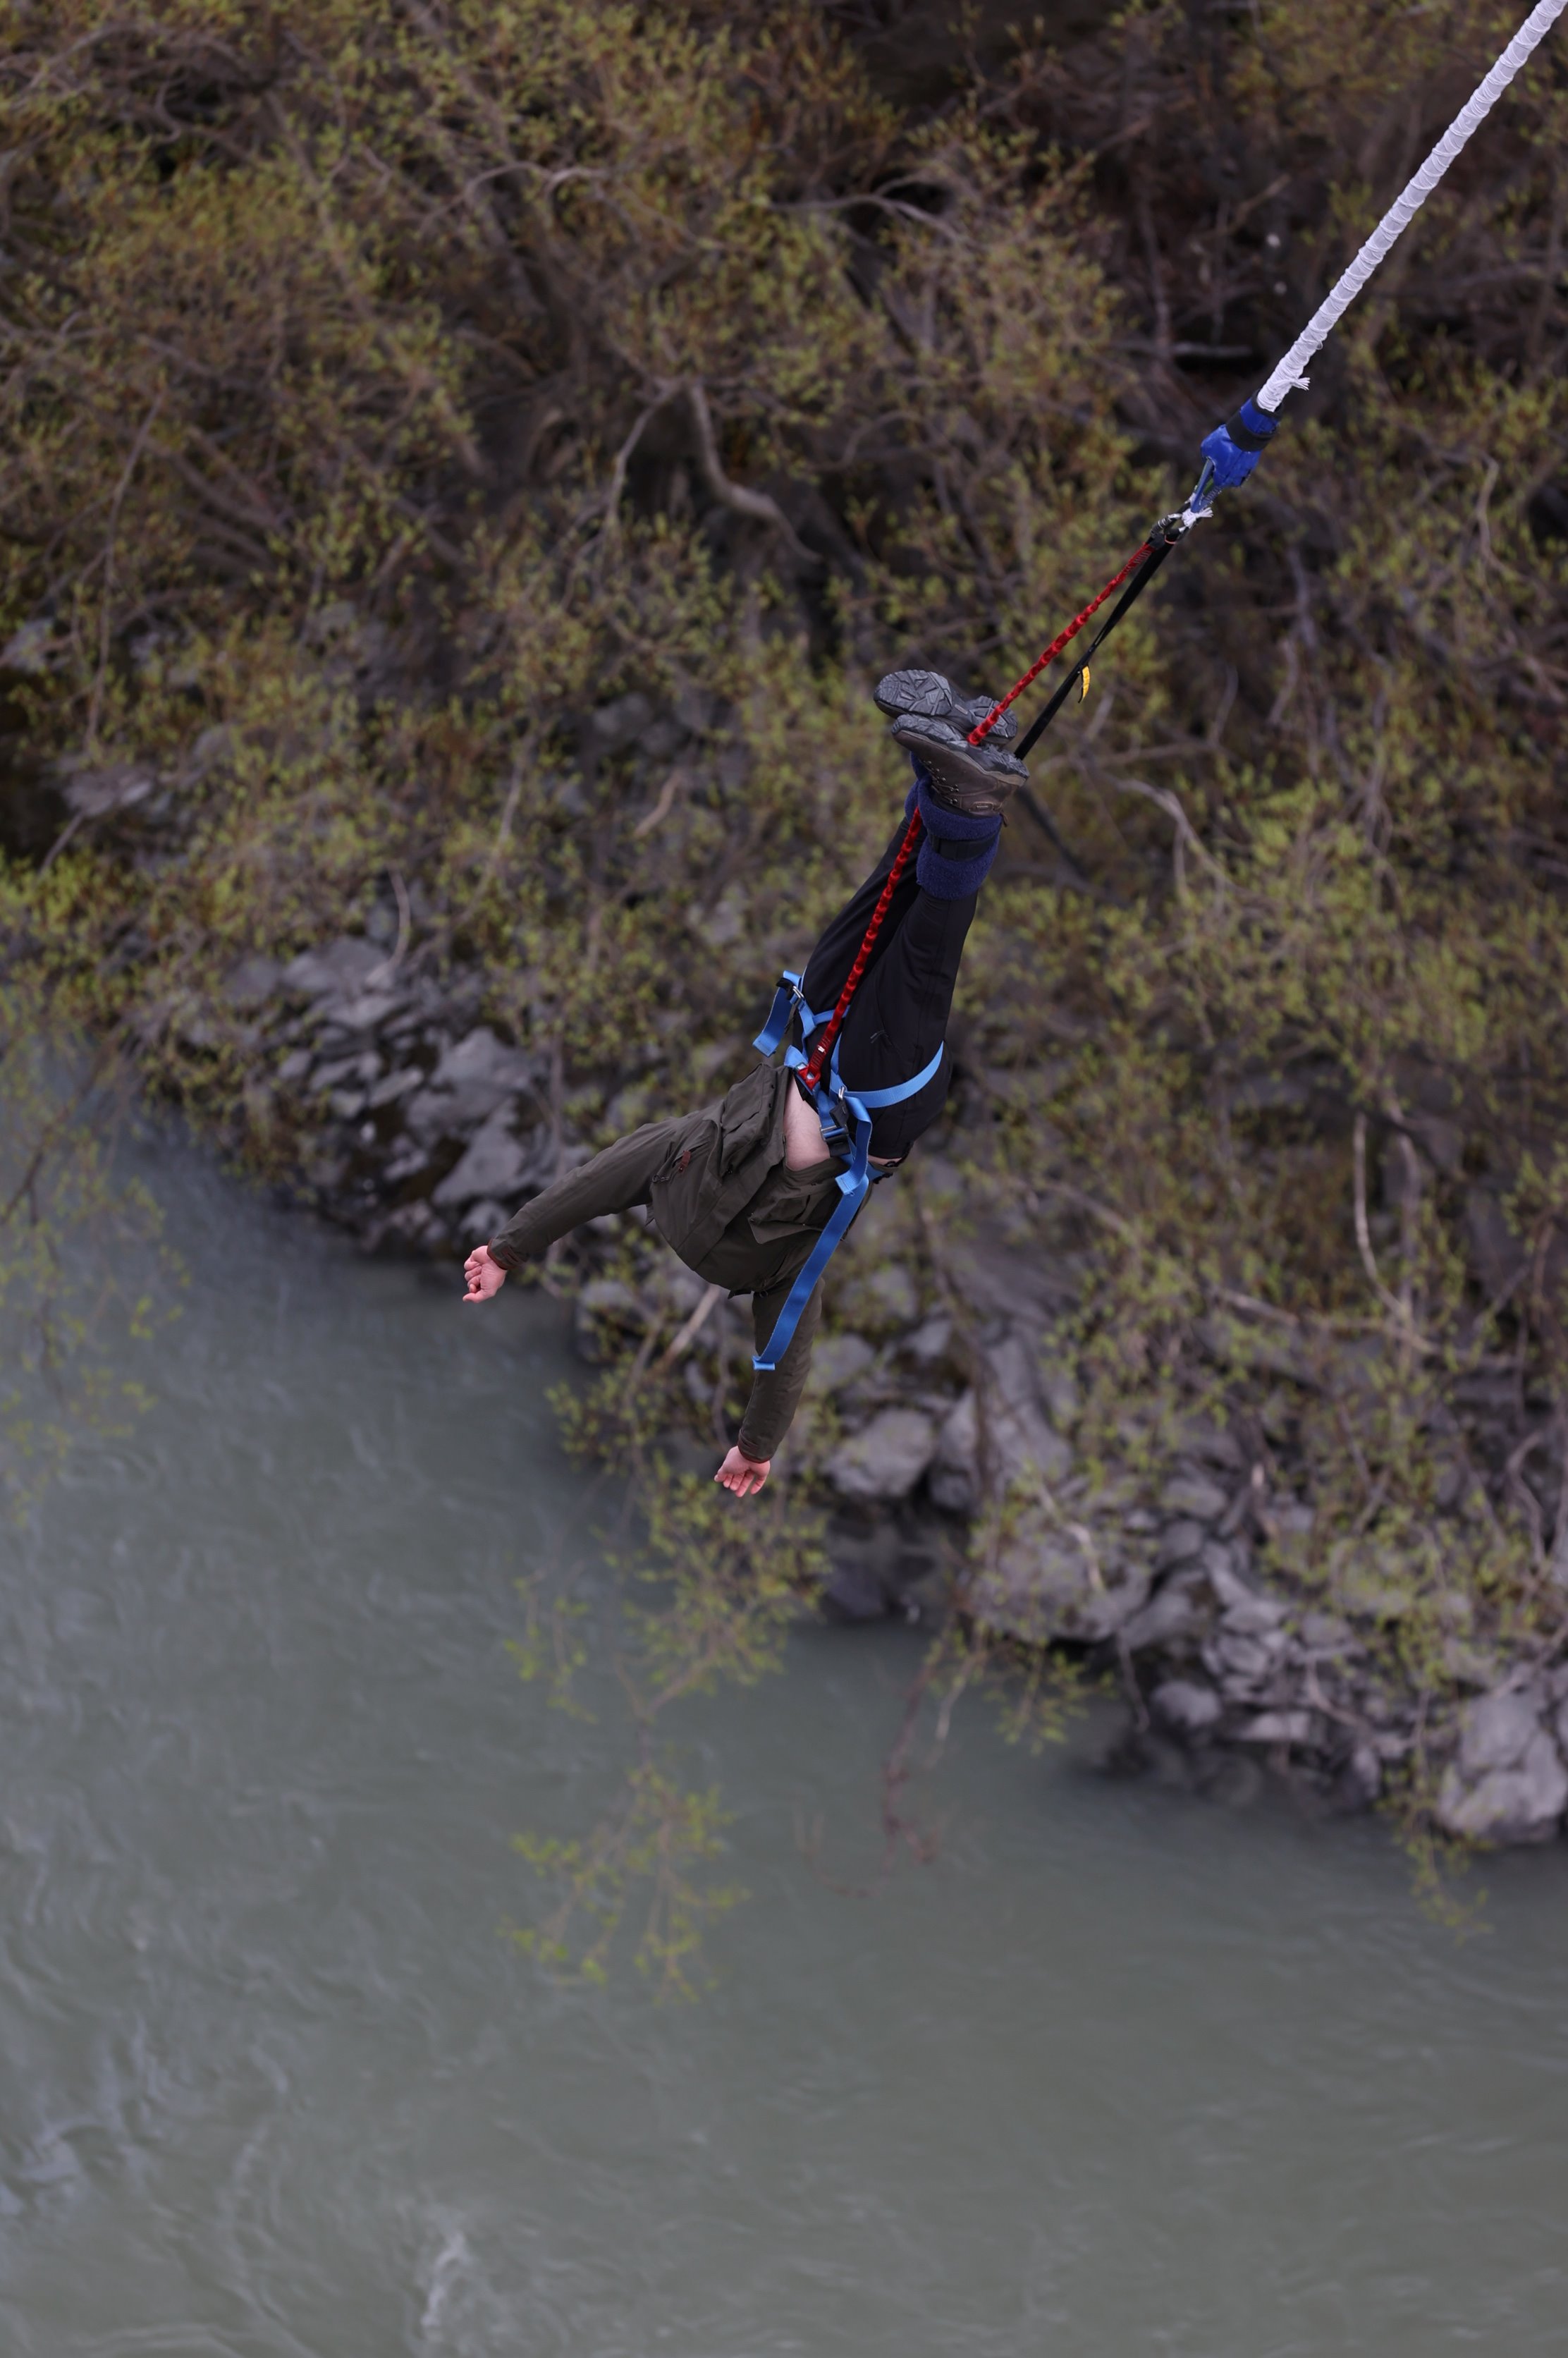
We did the AJ Hackett Kawarau bridge jump which is 43 metres high over the river, and is the first ever bungee jump! On a good day it’s a really beautiful place for a jump, but I’d advise to do it first thing in the morning if you’re nervous about it so that you get it out of the way. Also, it might be a given, but maybe avoid breakfast beforehand… It cost $570NZD for two adults, and this included some photos and a video of each of us jumping.
Another thing we did in Queenstown was a jet boat ride over the Shotover River that we booked through Get Your Guide which we did with Adelaide. For the first 10 minutes she was completely silent and we felt like terrible parents, but after a while she started asking to ‘do more spins’ and ‘go faster’ so we realised she wasn’t actually terrified and had a really good time. They do say it’s only for over 2’s and I would say maybe that’s a bit young for them to go on if they get scared easily but if you’re both confident then give it a go!
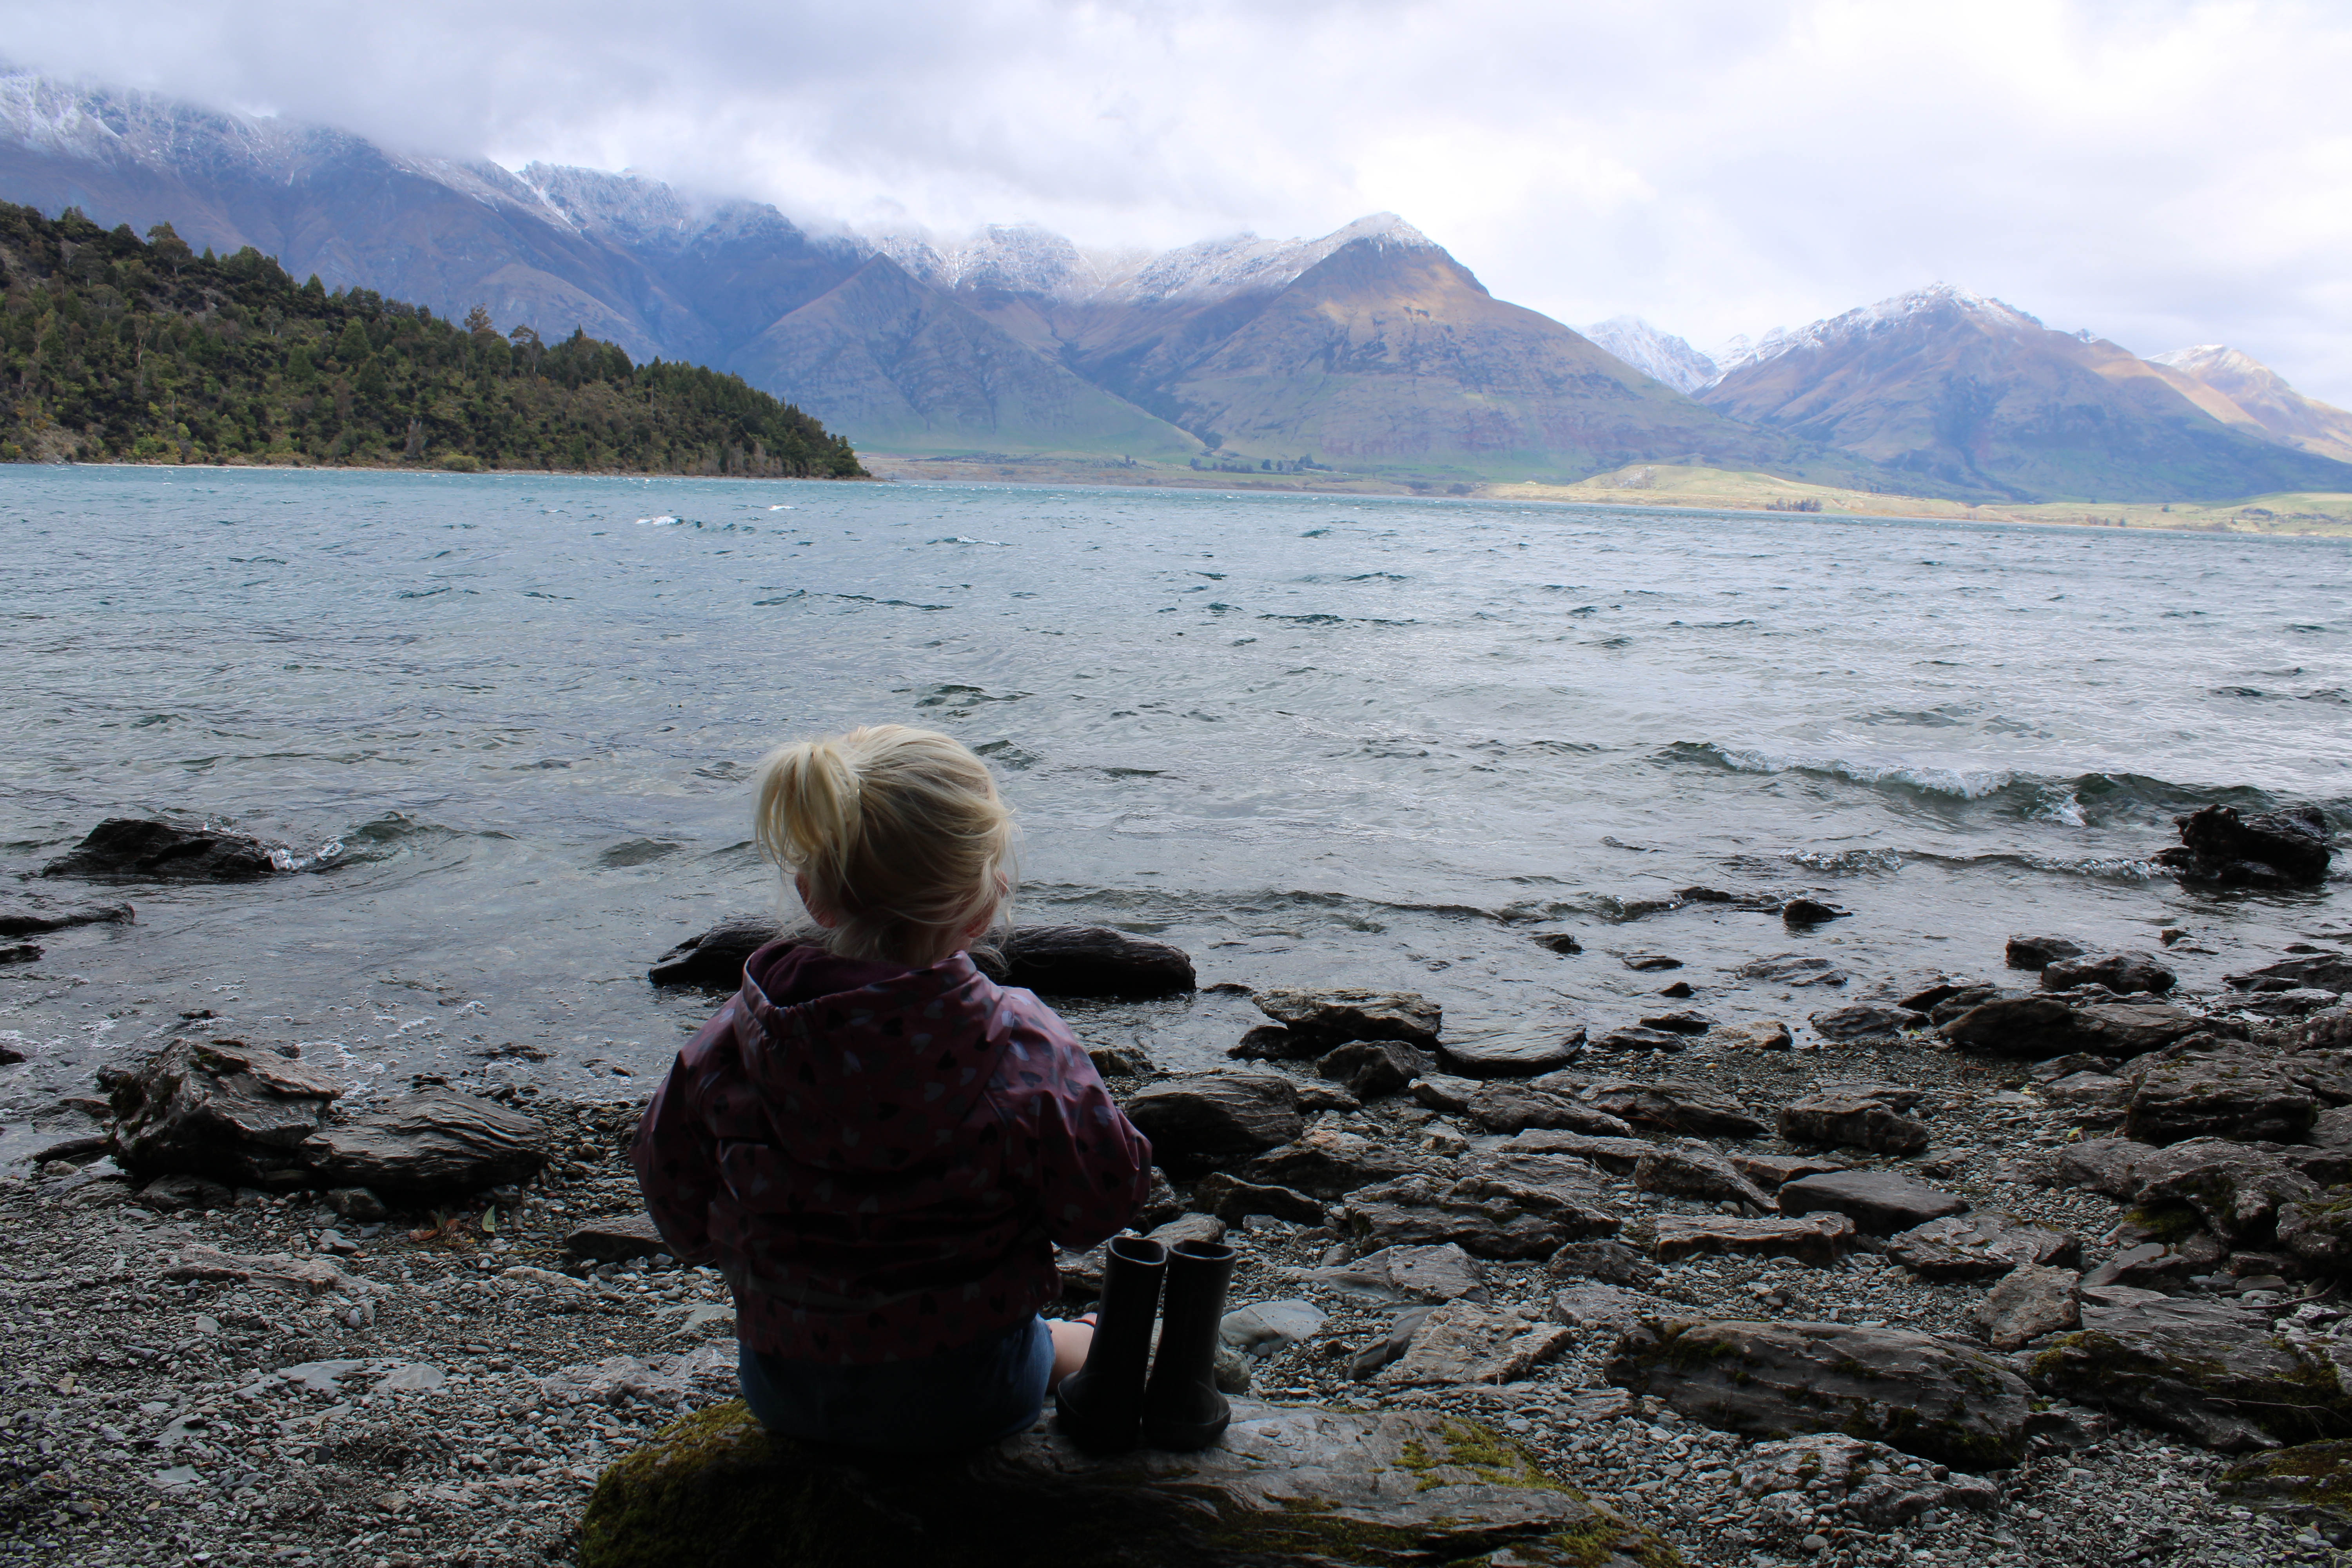
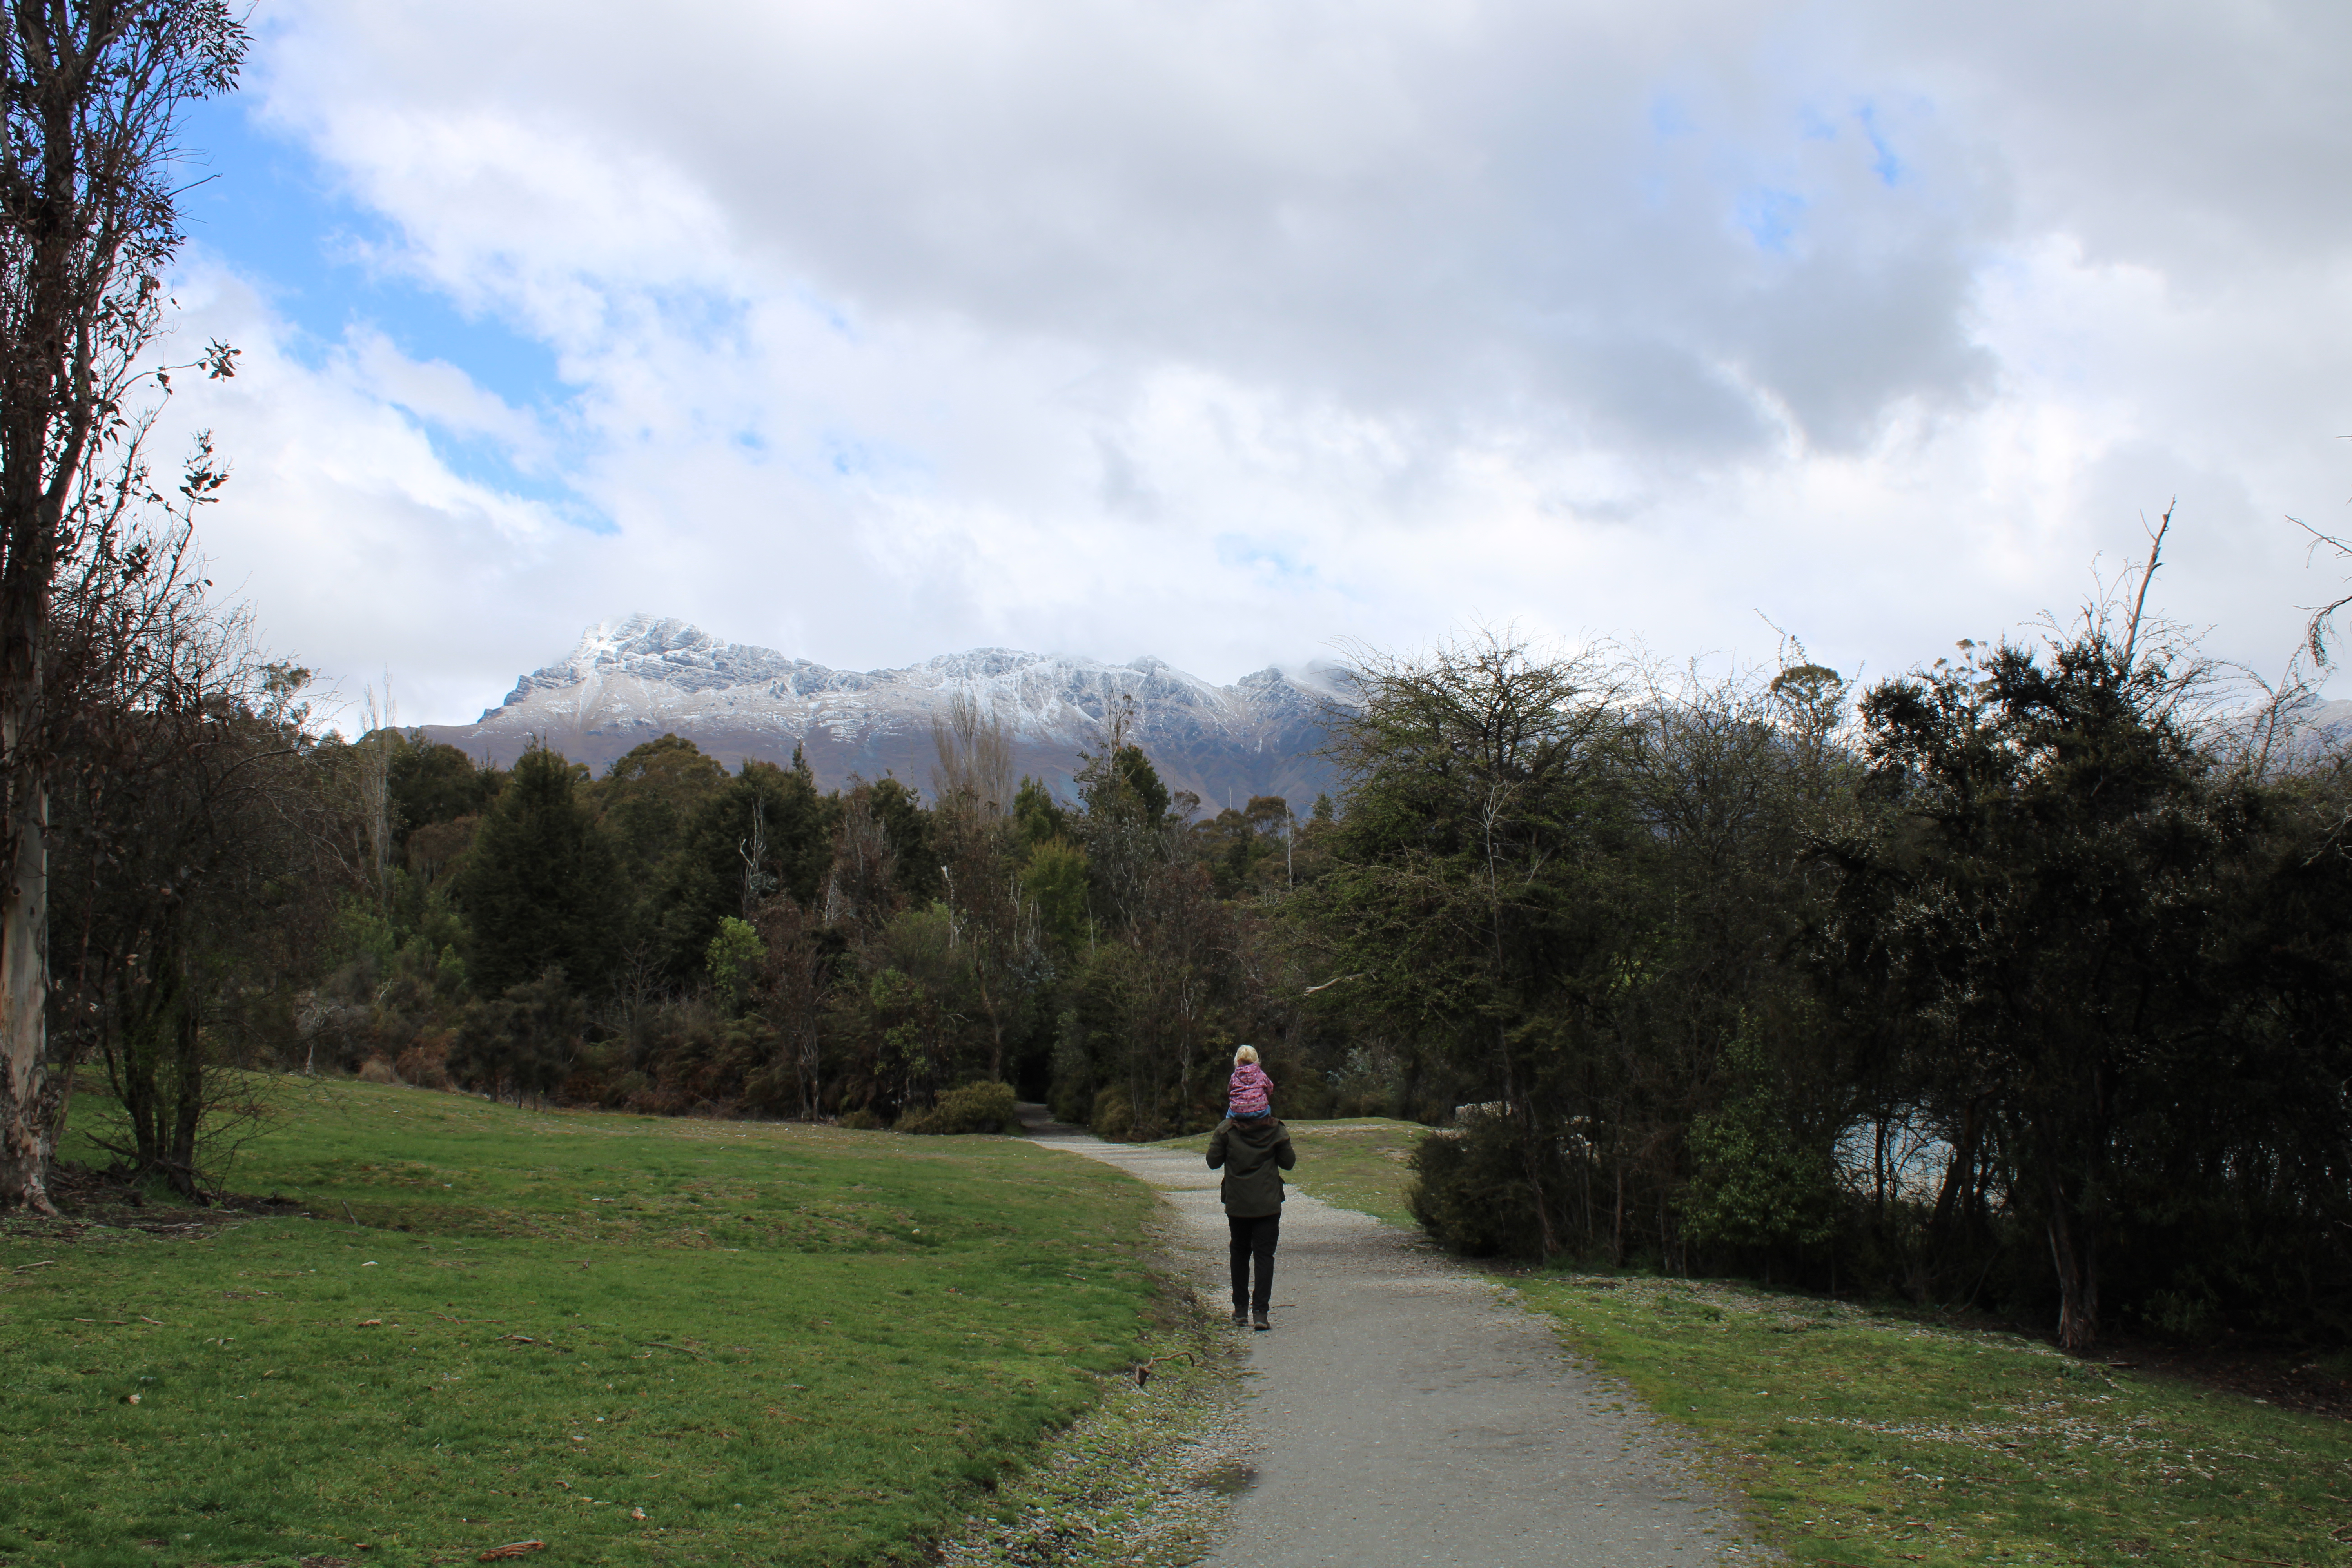
After we did the Bungee on the second day, we drove out towards Gelnorchy to visit Bob’s Cove and stopped for a picnic at Wilson Bay which was perfect to park the camper right next to the lake and sit out in the sun at the benches. There were toilets and bins here as well if you aren’t travelling self-contained! The parking for Bob’s Cove was quite tricky to find, but click here to take you to the location on google maps. The walk itself is very easy and is about half an hour or so to get down to the cove and around to the car park again.

Day 5
MILFORD SOUND
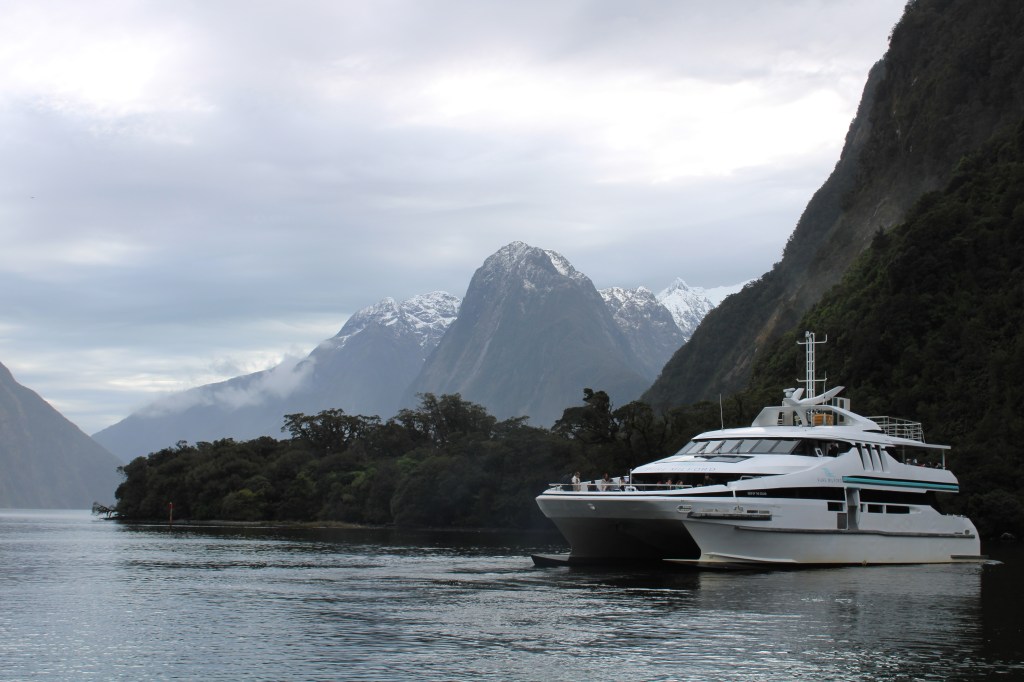
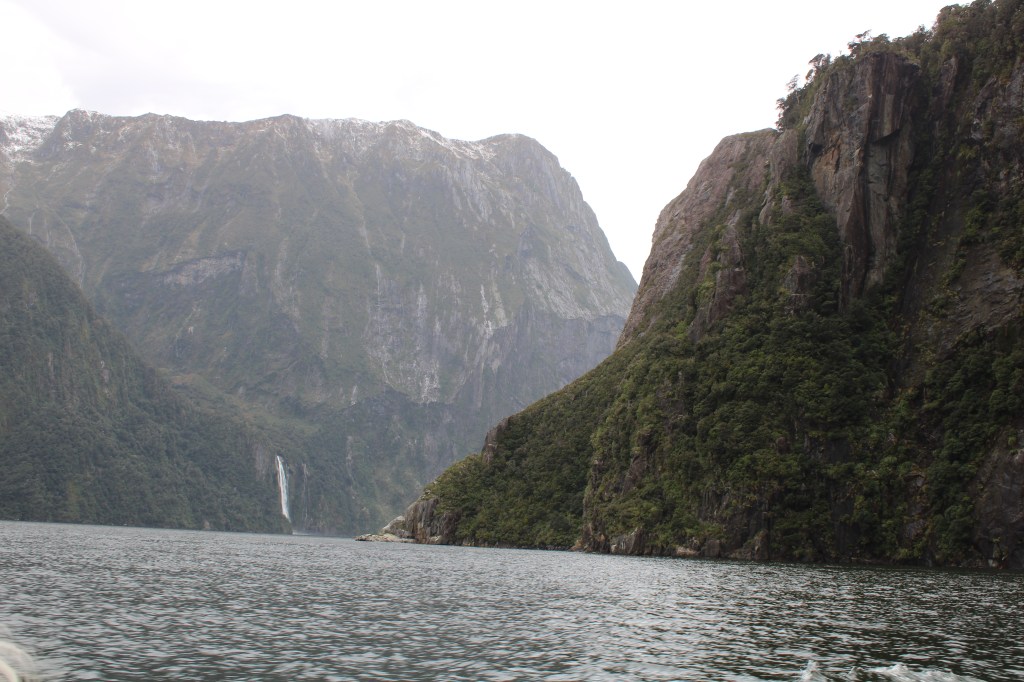
If you tell anyone you’re visiting the South Island, you’ll no doubt be asked if you visited the incredible place that is Milford Sound. The almost 4-hour drive has a huge mix of weather as you drive through flatlands, snowy mountain-tops and through a mountain tunnel to the ever-rainy town. There isn’t a huge amount to do here, other than walking trails and a boat trip (which is the main reason you’d come here). There are loads to choose from but we picked this boat trip from Get Your Guide – it was one of the smaller boats and it gets really close to the waterfalls (I say ‘really close’ – it basically goes right underneath it; you get soaked if you stand outside!).

There’s a car park right by the water, but it costs to park there. There’s another car park a 10/15 minute walk up which is free called Deep Water Basin car park. There’s only one campsite in Milford itself, which happened to be fully booked when we were looking to stay, but in hindsight I’m glad. Cascade Creek is about 45 minutes away and is not only a lot cheaper, but is also perfect for a raw ‘in nature’ camping experience. It’s in the middle of nowhere, with mountains around and a river running through. There are toilets here (they aren’t great, needs must…) and it’s just so peaceful! The site is really big and there’s so much space; it was comforting to know there were other campers around when we were in the middle of nowhere, but everyone was so spread out that you had a lot of privacy.
Day 6
WANAKA
The drive from Milford Sound to Wanaka is quite a big one – 4 and a half hours roughly. You quite literally drive all the way back to Queenstown and around up to get to Wanaka. TIP: If you’re in a larger camper van/motorhome, you aren’t allowed to drive along certain roads that Google Maps will try and take you along. It will try and get you to cut up to Wanaka near Arrowtown, but instead drive to Cromwell and then on to Wanaka from there.
A lot of people that we spoke to when we were travelling NZ said that Wanaka was their favourite place to visit but we didn’t feel the same. The scenery is beautiful and the lake is peaceful, plus there’s plenty to do. There are 2 different islands on the lake that you can visit via boat as well as watersports, skydiving and cycle paths. The best boat trip that we found was this Wanaka: Water Taxi & Mou Waho Island Tour from Get Your Guide. Mou Waho island has a lake within a lake and gives you some great Insta-worthy shots!
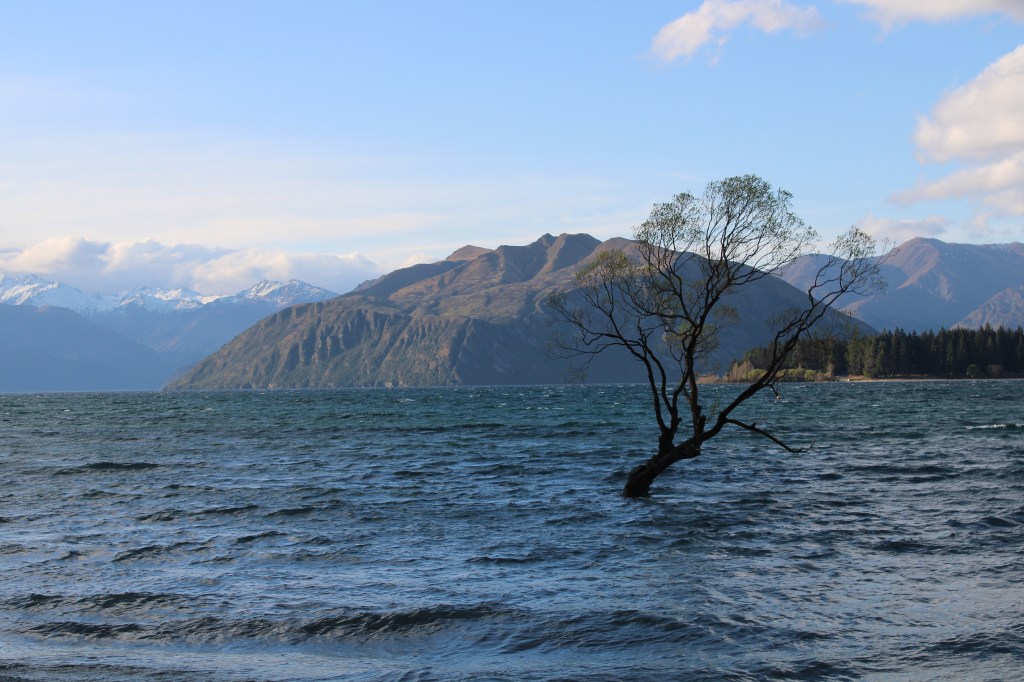
There are lots of other things to do, but the most popular part of Wanaka is ‘That Wanaka Tree’. I’m sure you would’ve seen the famous pictures before of a small, crooked willow tree poking up out of the water with mountains in the background? It’s not much more than that really, and if you don’t see it, don’t feel like you’re hugely missing out as it’s pretty much exactly like the pictures. There’s a spot to park right by it, so if you’re just passing through you can pull over to have a look and keep on driving.
Day 7
FRANZ JOSEF
(Because of a storm, we sadly didn’t make it to Franz Josef on our trip and instead had to do a 400 mile detour back through Christchurch to catch up with our itinerary the following day. This is the itinerary we had planned to follow and the activities we wanted to do).
The drive between Wanaka and Franz Josef is about 4 hours and takes you right past Fox Glacier. There are lots of different glacier tours and walks that you can do, but the other main reason we wanted to come here was because of the Waiho Hot Tubs; private wood-fired hot tubs nestled in the middle of the rainforest. We had reservations for here that we sadly had to cancel because of our detour, but the company were so lovely about it and we were gutted we didn’t make it! Another thing we had on our list was kayaking on Lake Mapourika; we explained we had a toddler with us and they were perfectly happy that she could come along!
Day 8
PUNAKAIKI
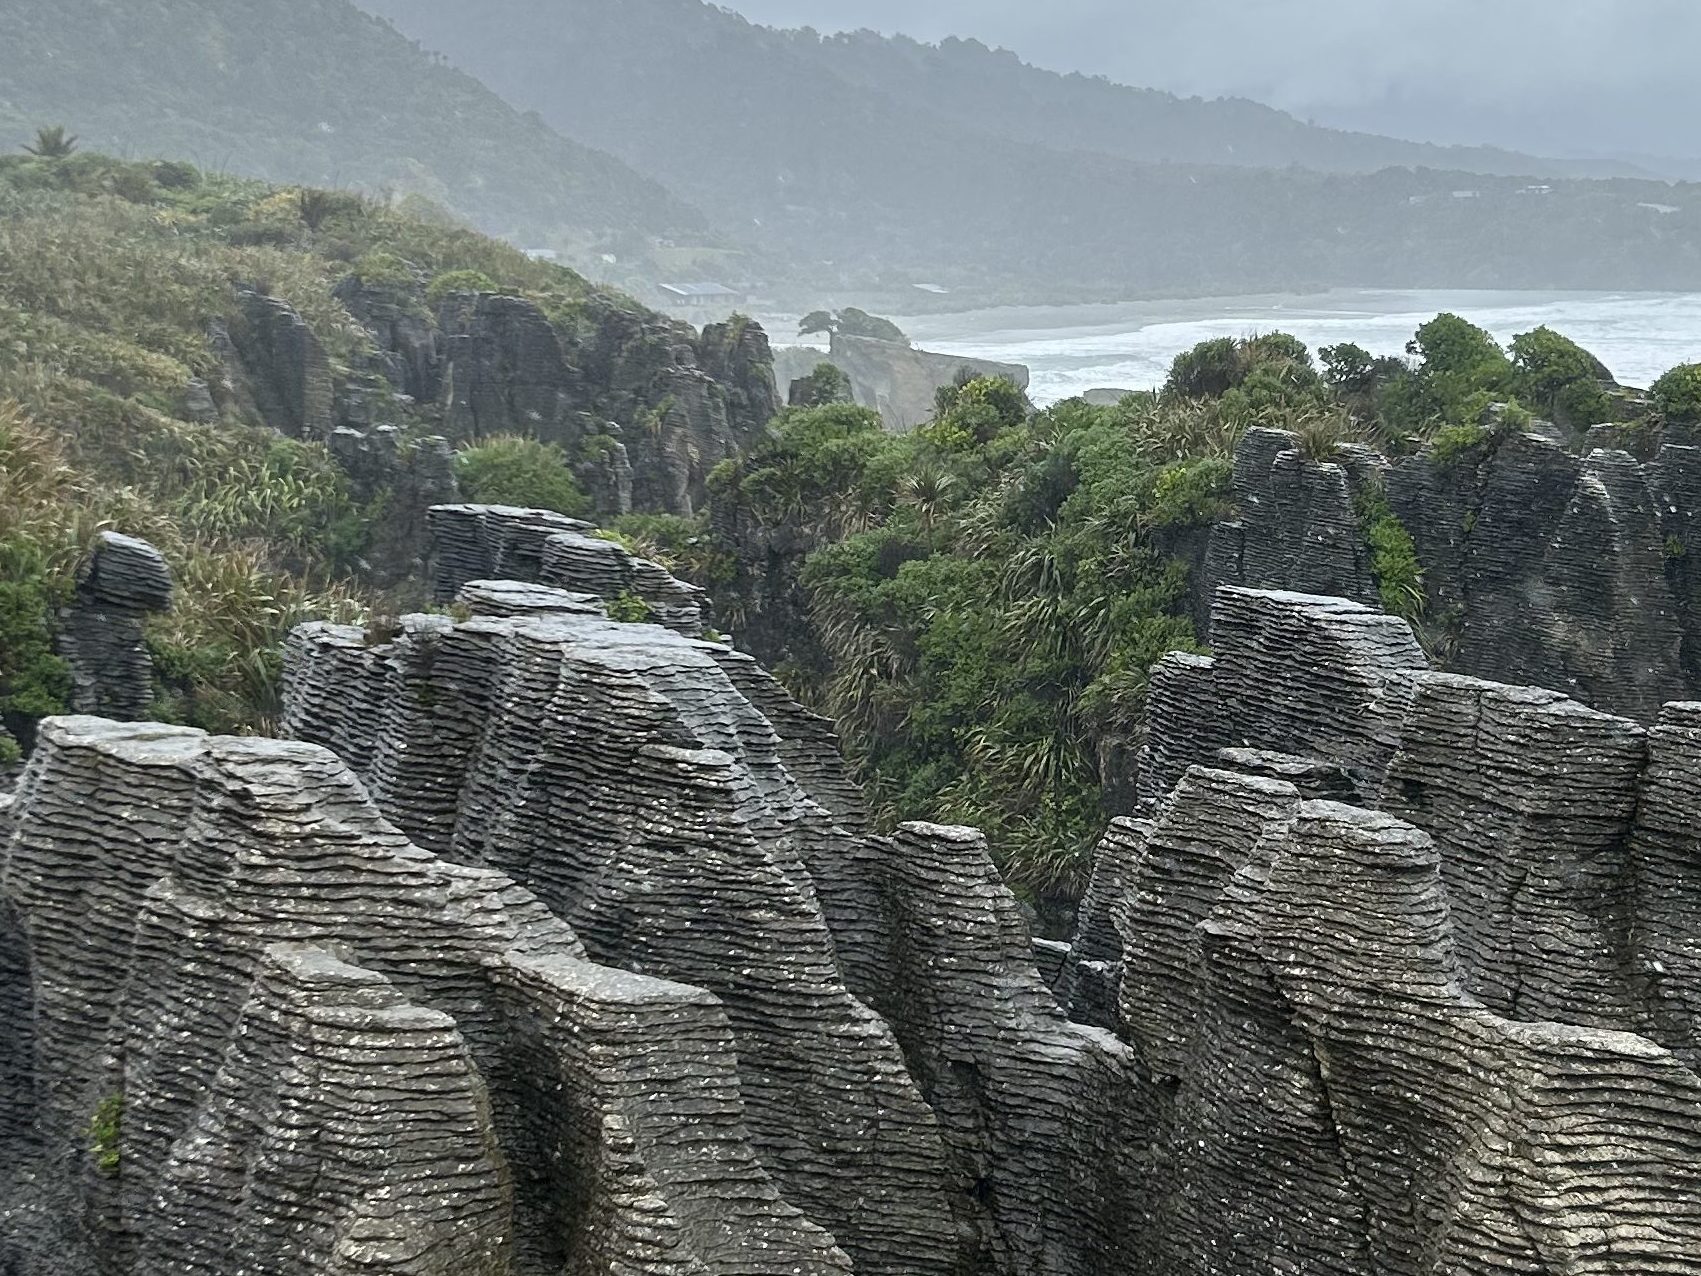
The 3-hour drive up the west-coast is supposed to be one of the most beautiful in New Zealand. Crystal blue waters and luscious green forests line the sides of the roads and creates a very instagrammable journey. When we visited, the weather was awful and it was a pretty miserable couple of days. It rained the whole time and was pretty windy, so we didn’t get the ‘West Coast’ people often talk about. It was still really interesting seeing the Pancake Rocks and blowholes, but there wasn’t a lot else for us to do here other than stay warm and dry. If you’re going in the warmer months then I’m sure it’s a beautiful beach area, but for us in the first weeks of spring, it wasn’t ideal and we carried on driving to find a ‘free’ campsite to stay at a little more inland.
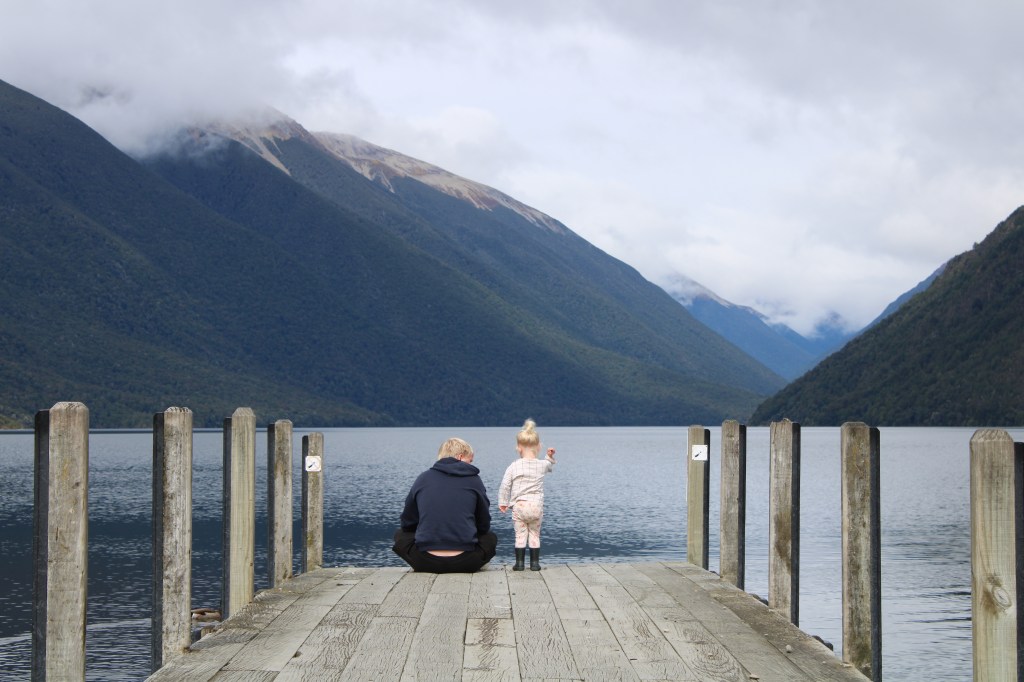
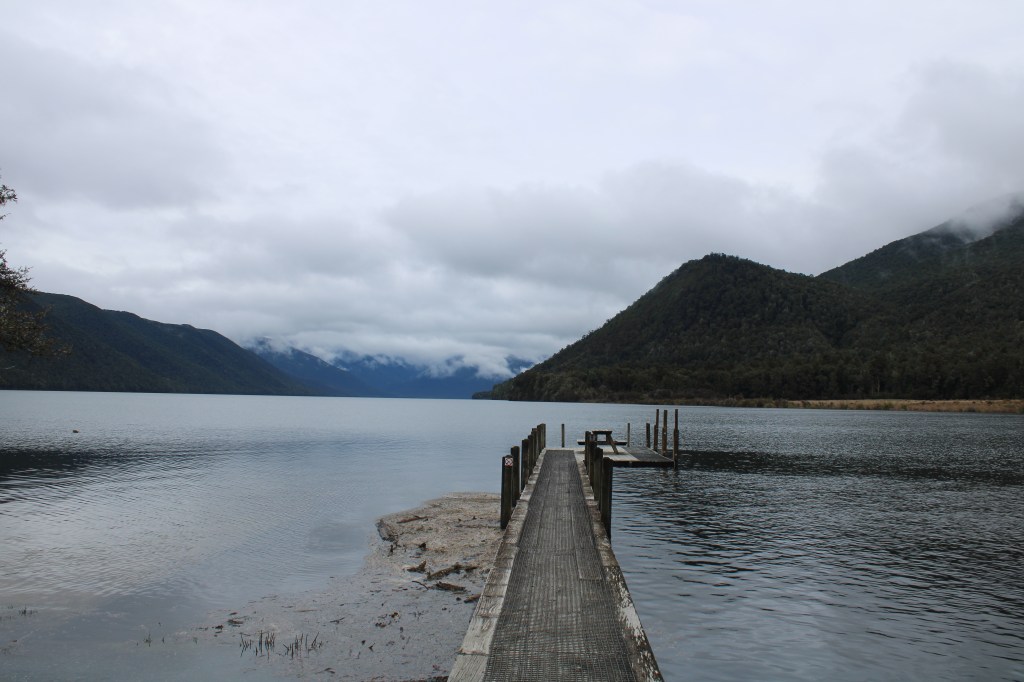
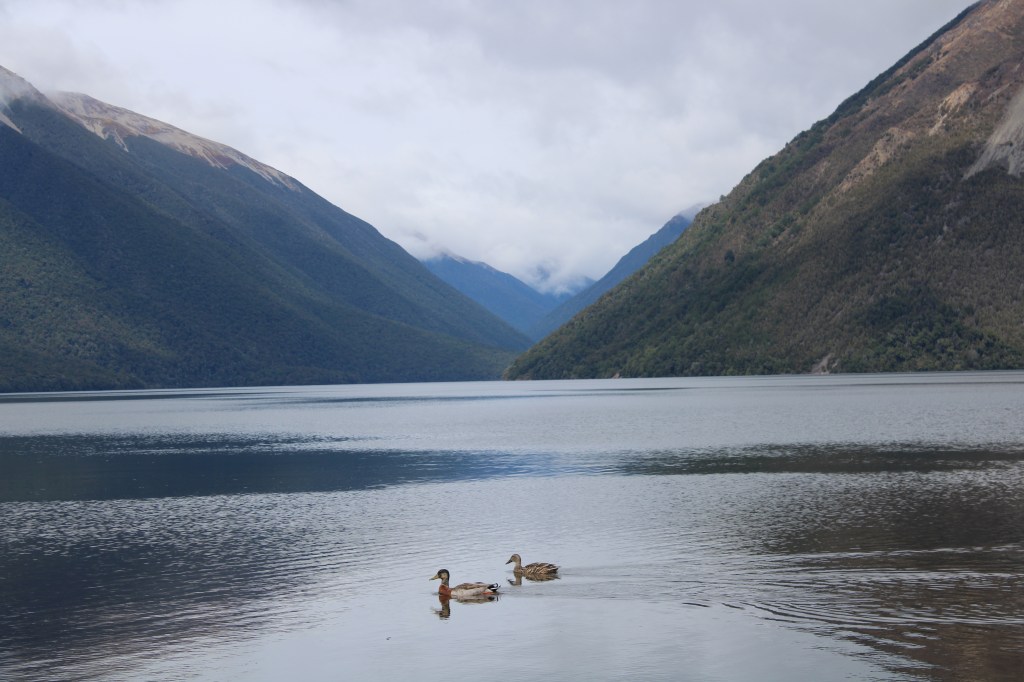
On our way north we stopped off at Lake Rotoroa and Lake Rotoiti. They were so peaceful first thing in the morning, but there were lots of sandflies around so make sure to bring bug repellant.
Day 9 & 10
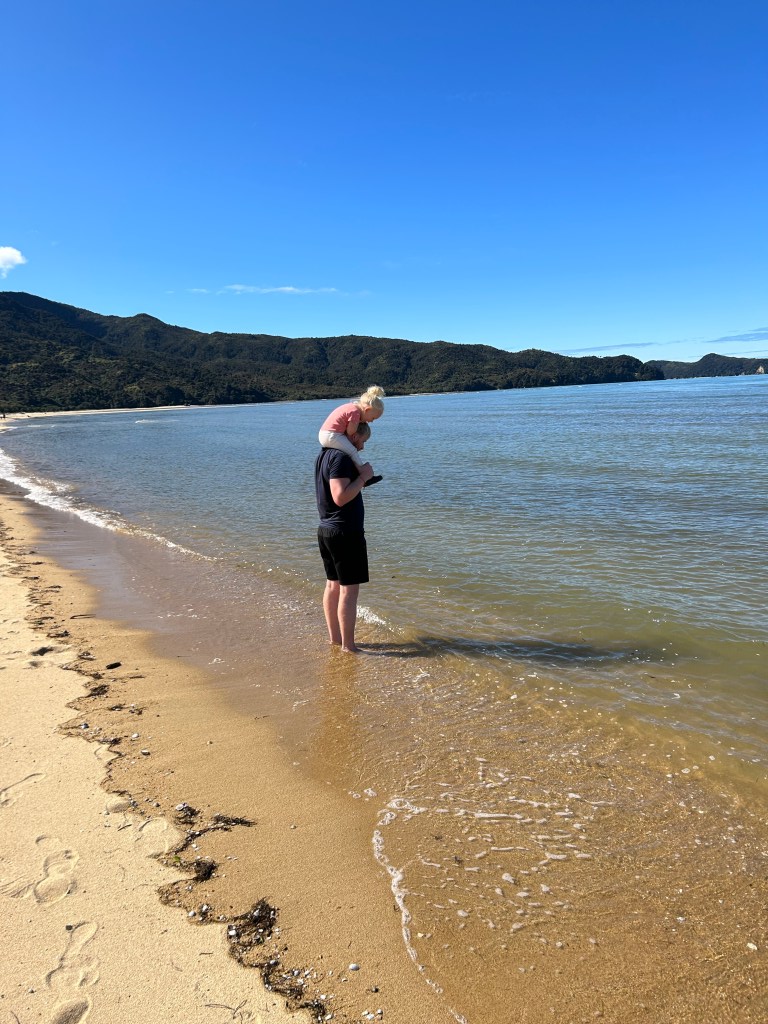
ABEL TASMAN/ MARAHAU
The drive to Abel Tasman was beautiful and green; twisty-turny and slow in places (the steep climbs up and down around the coast can slow you right down if you’re in a larger camper). There were quite a few places you can stay around Abel Tasman National Park; the ideal place to stay is Totaranui camping area, but it’s quite a long drive and a bit too far north for what we wanted so we stayed in Marahau instead. There was a beautiful beach, a lovely little bar/restaurant called Hooked and some great places for bush walks into the national park. We spent 2 days here at the Marahau Beach camp which had lovely clean showers, toilets and washer/driers. It wasn’t a very big camp but it had a little play-park for our toddler to play in which was a bonus!
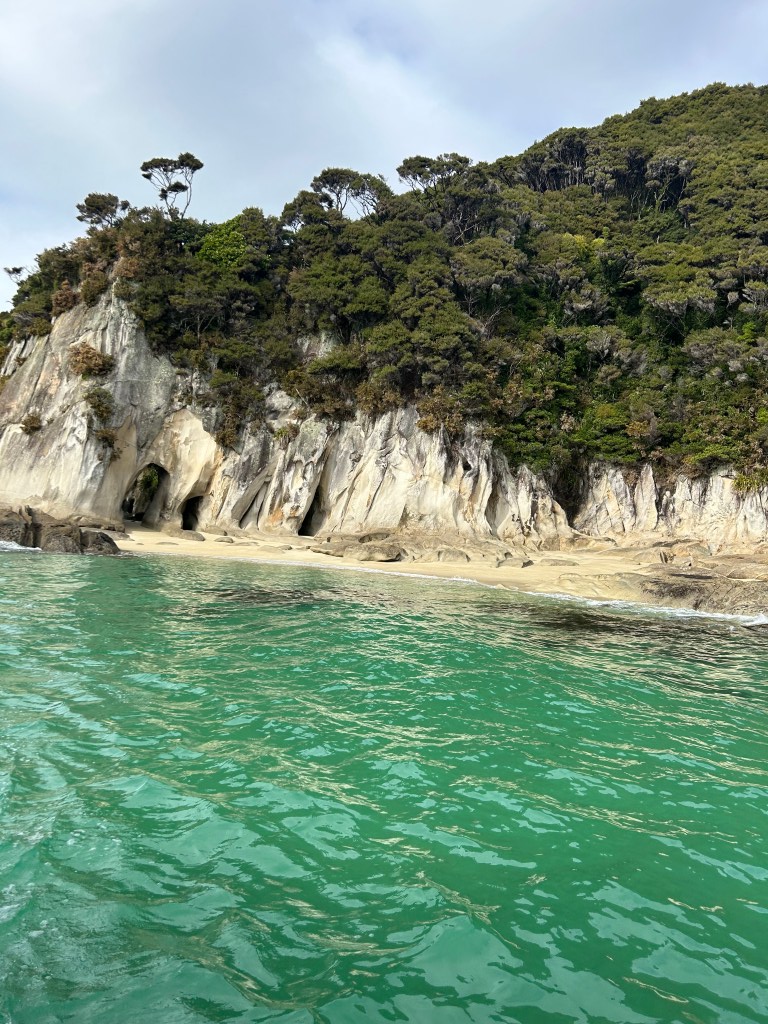
We booked an Abel Tasman National Park Scenic Cruise through Get Your Guide which took us on a 3-hour boat ride around the waters of the park, seeing some of the wildlife and stopping off in different bays to learn about the history. There were other options of water taxis too so you could spend the day on one of the many secluded beaches, or they drop you off and you do the long bush-walk back to Marahau!
Day 11
MARLBOROUGH
We planned our stop in Marlborough for 2 days because we wanted to chill out and sit on vineyards for 2 days and drink nice wine, but the reality was that it was cold and rainy, and because it was ‘off season’ a lot of the vineyards weren’t yet open. One that we were highly recommended was Bladen’s as it’s a nice family run vineyard with nice wine! Another which we actually did get to visit was Framingham’s which has a great wine tasting menu and a quirky set-up with lawn games outside in a large courtyard, and a cosy indoor bar for drinking in all weather.
We weren’t overly impressed with Blenheim itself as it’s pretty built up, but there are some gas stations with water and dump sites if you’re free camping, and there are some big supermarkets for stocking up on supplies. I’d recommend staying in amongst the vineyards in the surrounding countryside. We actually stayed at Clairvale Garden and Vineyard, parked up on someone’s driveway; the family was lovely and it was really peaceful. They had some sheep and chickens and let us use their beautiful garden!
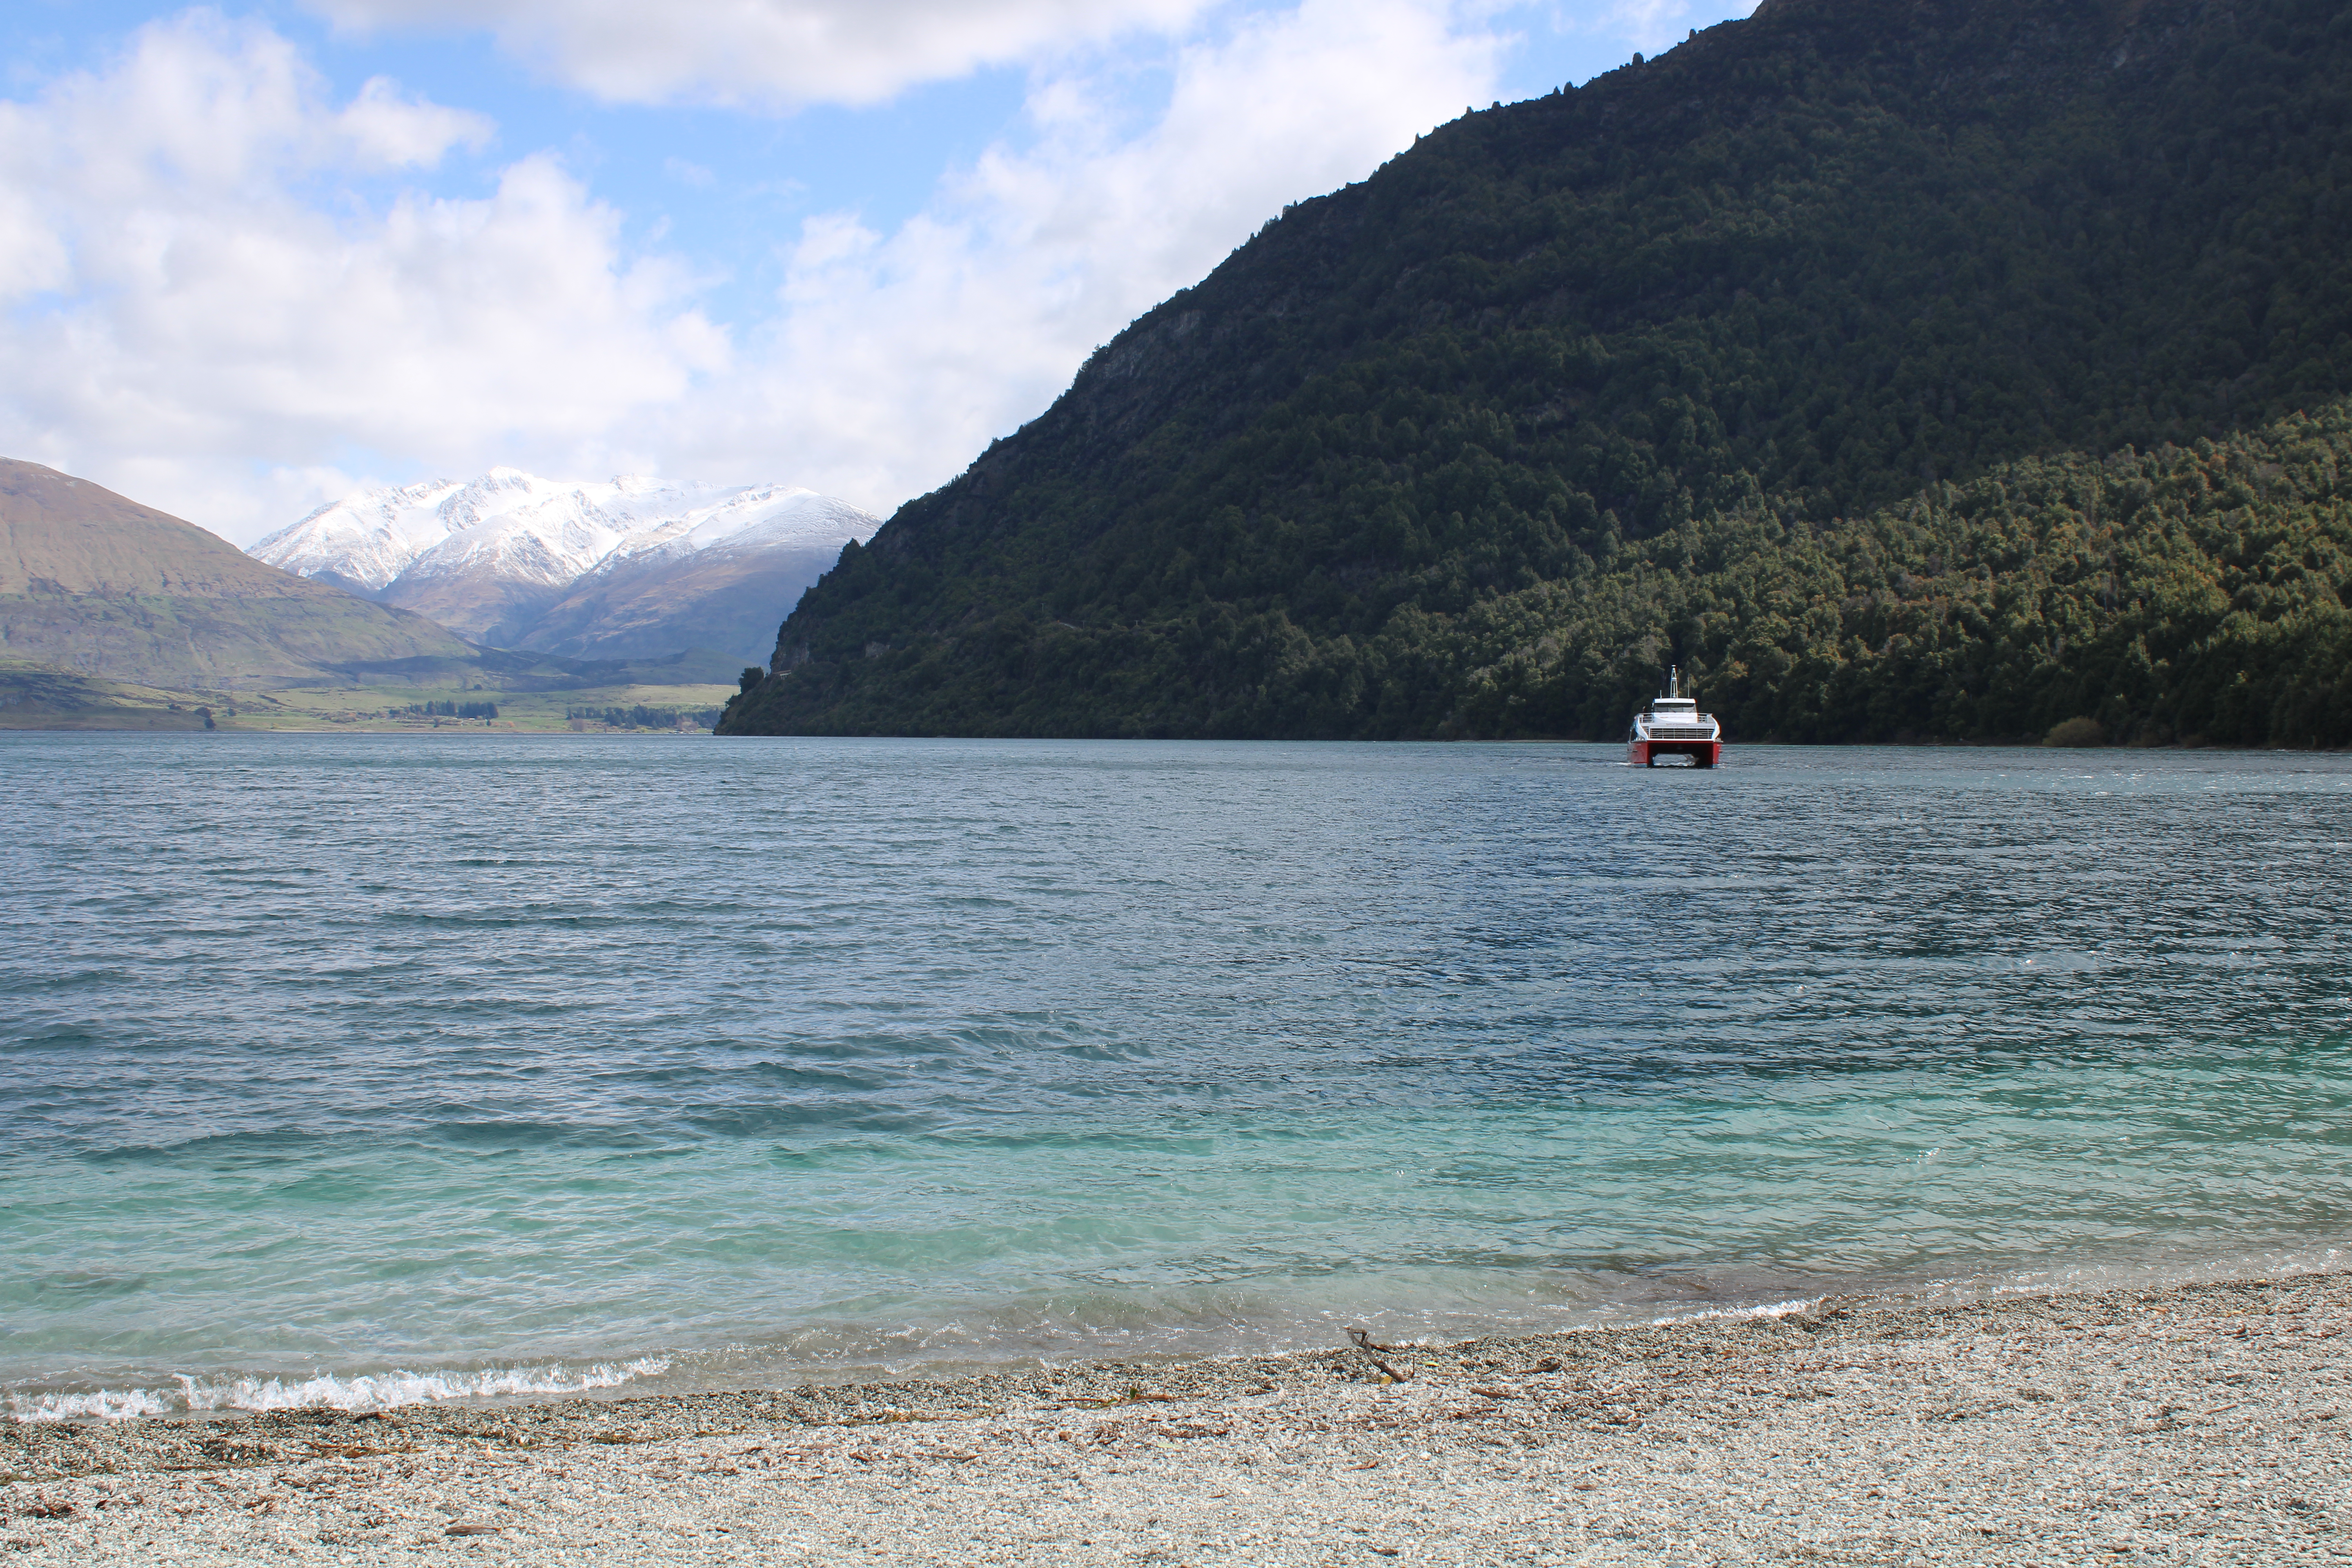
To get across from the South Island to the North, you have to catch the ferry from Picton which is about 20 minutes from Blenheim. The crossing takes around 3 hours, but can be longer in bad weather, which happens more than you’d think. The Cook Strait is often considered one of the roughest stretches of water as it’s the only gap between the mountains in the North and South and creates a wind tunnel, resulting in some crazy waves. Don’t be surprised to experience swells of 3-4m in bad weather. (You wouldn’t think a large ferry could move so much but trust us, it does. Take travel sickness tablets if you’re prone to it!).
The price varies a lot depending on type of ticket you get and whether you’re a foot or car passenger. The two ferry companies are Interislander and Bluebridge so check the cost for each to see what they offer! I definitely recommend booking your ferry in advance as they can get pretty full up, and you’re pretty stuck if you can’t get across!
NORTH ISLAND
Whilst New Zealand is generally super safe, there are some bigger areas (especially in the north island) where there’s more petty theft and gang crime so just make sure to keep your wits about you.
Day 12
WELLINGTON
As the capital, Wellington has lots of bars & restaurants, and is a great place to go for some nightlife. It’s also got a great ‘cafe culture’ and serves up a tasty brunch, so it’s a lovely place to break up the camper life and treat yourself to a day in civilisation. Wellington has a buzzing art scene and is home to many museums and galleries including the Museum of New Zealand Te Papa Tongarewa. The cable car takes you up to the cable car museum, the observatory and the botanic garden. There’s loads to do here, but sadly we missed out on Wellington due to storms stopping the ferry services for 24 hours. If you have the time, it looks like it’s worth the visit – just take a look at Lonely Planet’s must-see attractions.
Day 13
RUAHINE RANGES
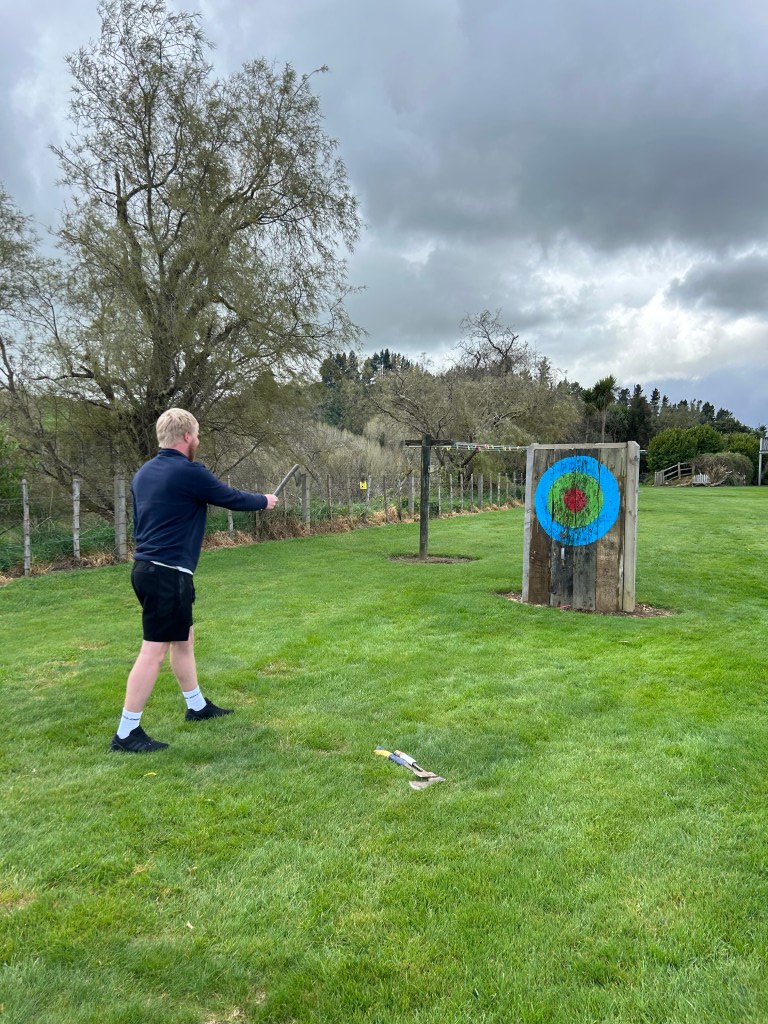
As we got close to the ranges, things started to feel a lot more rural again, just like the South Island. We got further out of the towns and cities, and into the secluded hills and tracks where there were just hundreds of sheep and farmland around us. The place we visited was called Makoura Lodge, which has a variety of accommodation and activities such as shooting, archery, axe throwing and mini Highland Games. It’s great for groups and team-building, but it was also nice just the 3 of us as it was really quiet and the people were so lovely and friendly! They don’t offer camping here, but just 10 minutes down the road is a village called Apiti with a couple of camping options.
The Apiti Tavern is owned and run by a really lovely man called Jon, and his family (Jon gave Adelaide a little yellow toy car when we were there which we took on the rest of our travels!). Around the back of the tavern are some tennis courts that you can park up on, plug into the electric and spend the night in the tavern enjoying some great food, drinks and atmosphere!
DEFINITELY stay at the Apiti Tavern if you’re in the area (if you want to book ahead, you’re better off calling than emailing).
Day 14
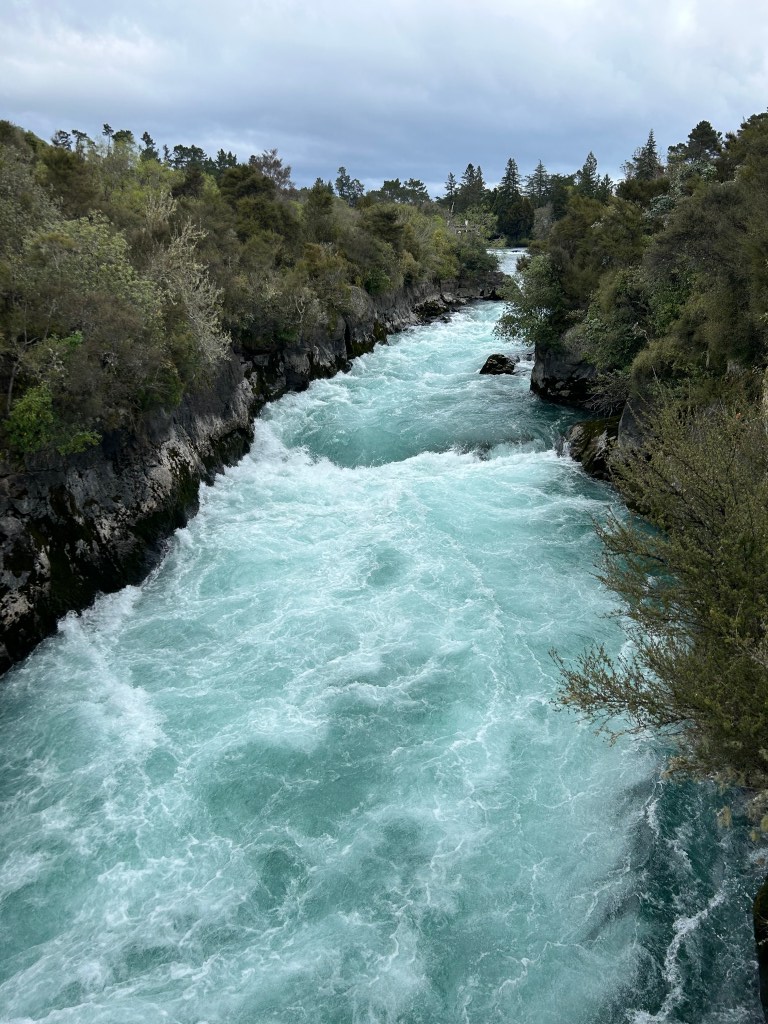
TAUPO
Lake Taupo is a really nice modern area around a beautiful lake. If you do go to Taupo, Huka falls is a must! The water is an incredible icy-blue and it’s beautiful. There’s plenty of parking around here, but it was pretty packed when we went so be prepared for the crowds.
Whilst we were in Taupo, we went to Otumuheke Stream which is a natural hot stream just off the Waikato River. There are changing rooms here and a small rock-pool area where the hot water mixes with the river and you can sit and bathe. I’m sure this is lovely in good weather, but it’s quite shallow and when we went in early spring, it was quite chilly sitting around for too long. Also, bring water shoes if you have sensitive feet as the ground is completely stoney.

We were planning on finding a free campsite here as we had 3 full days of a fully-serviced campsite ahead of us, but sadly there wasn’t a huge amount of choice for free camping here. Reids Farm was the main one, which looks to be a huge open space but when we got there, they had shut off most of the carpark and there was the tiniest, very uneven area which was already full. We decided to drive out for the night to Lake Okaro which was completely isolated and quiet, and right next to the water.
Day 15, 16 and 17
ROTORUA
One main thing to know about Rotorua is that it’s bursting with geothermal activity, meaning there are spas, pools and hot tubs everywhere! Whilst this might sound great, it’s worth noting that the town does have a slight smell about it…
To say there’s lots to do in Rotorua would be an understatement. It’s one of the busiest places we went and there are so many activities set up here no matter what age you are. One of our favourite activities was Hells Gate Thermal Spa, which we chose partly because of the amazing reviews, and partly because it was the only place we found that our daughter was allowed in (technically she wasn’t but she looks older than she is and they never asked to see ID… shhh…). They have mud baths and sulphur pools as well as bubbling mud volcanoes and an authentic Maori wood-carving workshop.
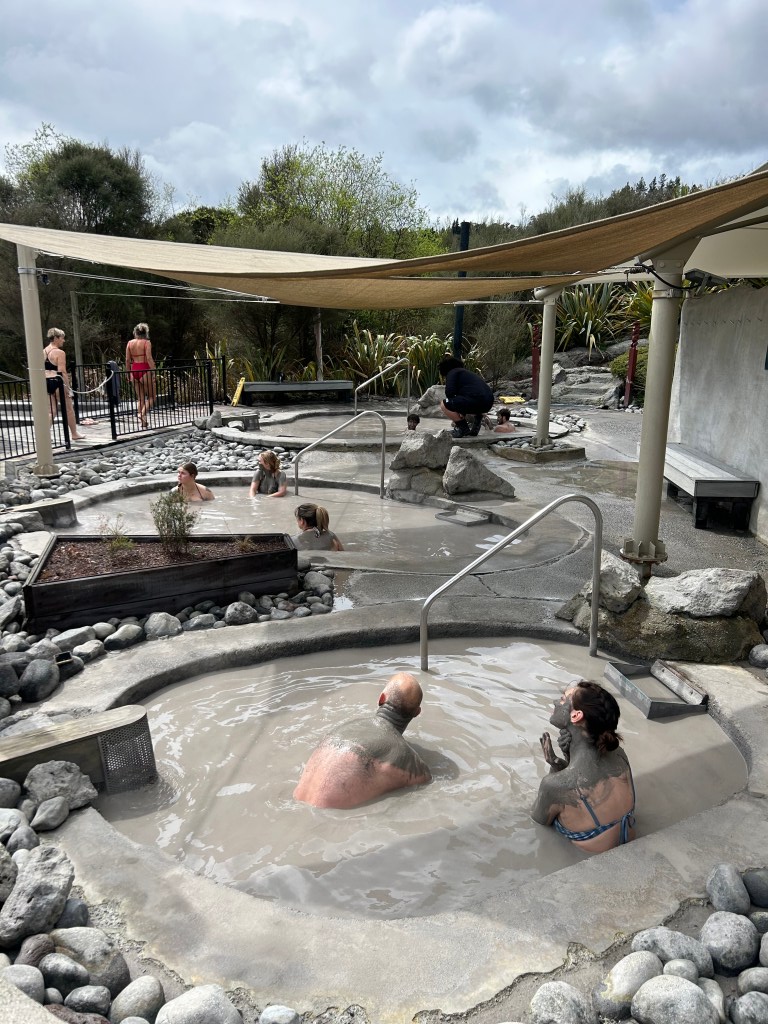
They tell you to remove all jewellery for 48 hours following your dip in the water, as the sulphur will leak out of your pores for the next couple of days and possibly ruin it. They also advise you not to wear any nice or new swimming outfits for the same reason, and although they didn’t get ruined, the smell definitely stayed in them for quite a few washes, as well as all the clothes in the same wash. To be safe, wear old swimming clothes (in case they get discoloured), don’t wear any ‘nice’ outfits for the next couple of days, and wash all of your ‘sulphur’ smelling clothes in a separate wash to everything else.
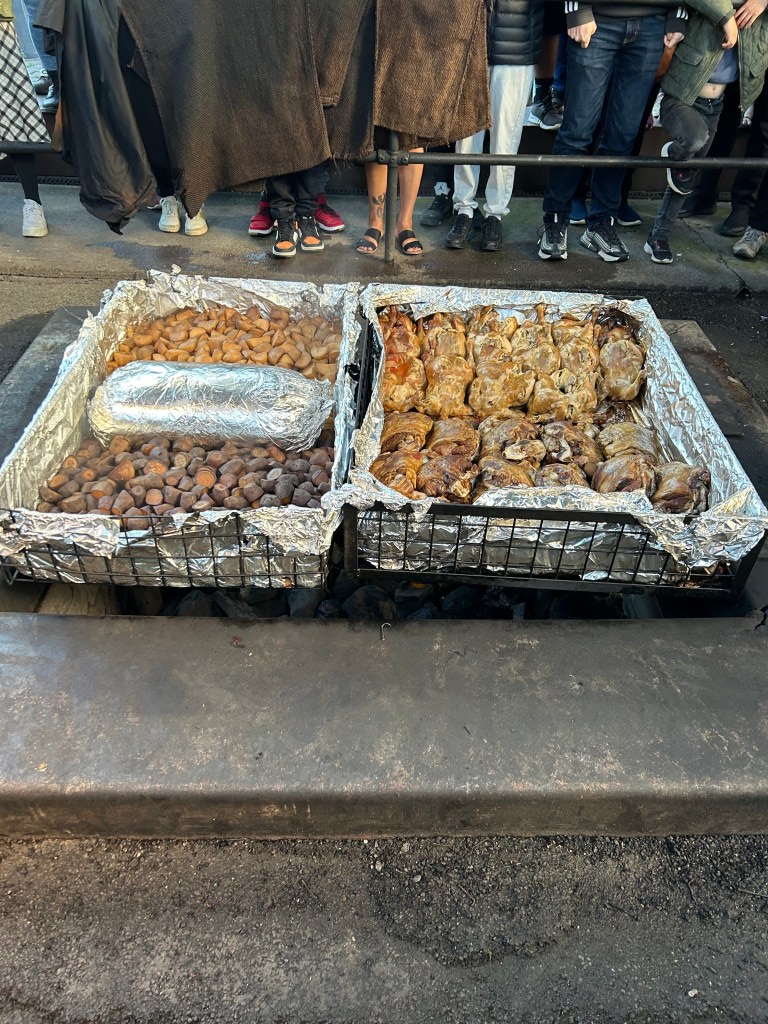
Another favourite was a Maori Experience – We booked the Mitai Maori Village: Cultural Experience and Dinner Buffet through Get Your Guide and it was amazing. We got picked up from the Cosy Cottage Thermal Holiday Park that we were staying at, and were taken to the Maori Cultural Village. We got a traditional Maori meal cooked in a Hāngī, listen to live Maori singing, and even watched a haka performance. There’s a lot of listening and sitting still so if you have a child who’s not good with that, you might not feel comfortable here, but we took our toddler with no problems.
Some other child-friendly activities you can do here are the Astrodome Farm Tour, skyline & luge, a Polynesian spa and the Kiwi Hatchery; our 2-year old had a great time doing all of them! We also went Zorbing (Rotorua is the birth-place for zorbing); obviously they don’t let young children in, but they do have hot tubs at the bottom of the hill for people to sit and wait in, which she sat in with us whilst we took turns rolling down the hill.


If you do plan to visit Rotorua, one of the best pieces of advice that we can give is to visit the Secret Spot Hot Tubs. You can book out private hot-tubs in the forest, but unfortunately they don’t let young children in so we didn’t get to do that. Some friends of ours told us that they have a little cafe/bar area as well with smaller foot-tubs, which was perfect for us. We all sat around with our feet in with a glass of wine (Adelaide had a cup of milk and some sweets that they had kindly given her!).
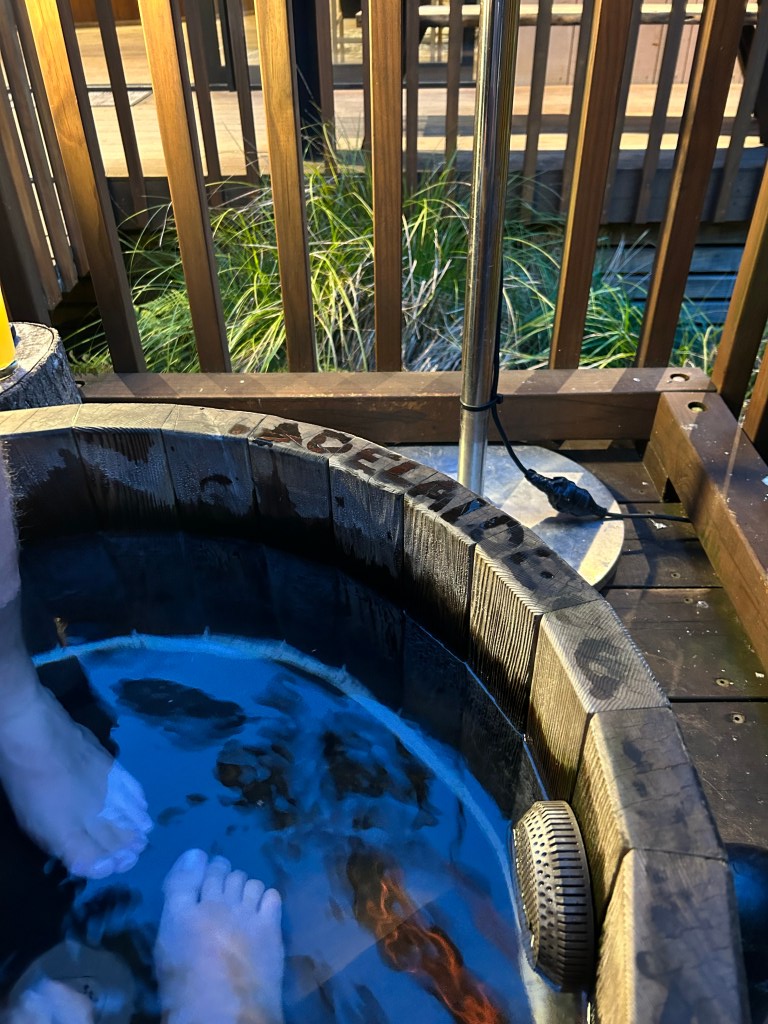
We were lucky that it wasn’t very busy when we went, as you can’t book out the foot spas, but definitely pop by if you have the time to have a drink amongst the trees and soak your feet in the warm geo-thermal water.
Day 18
HOBBITON & WAITOMO
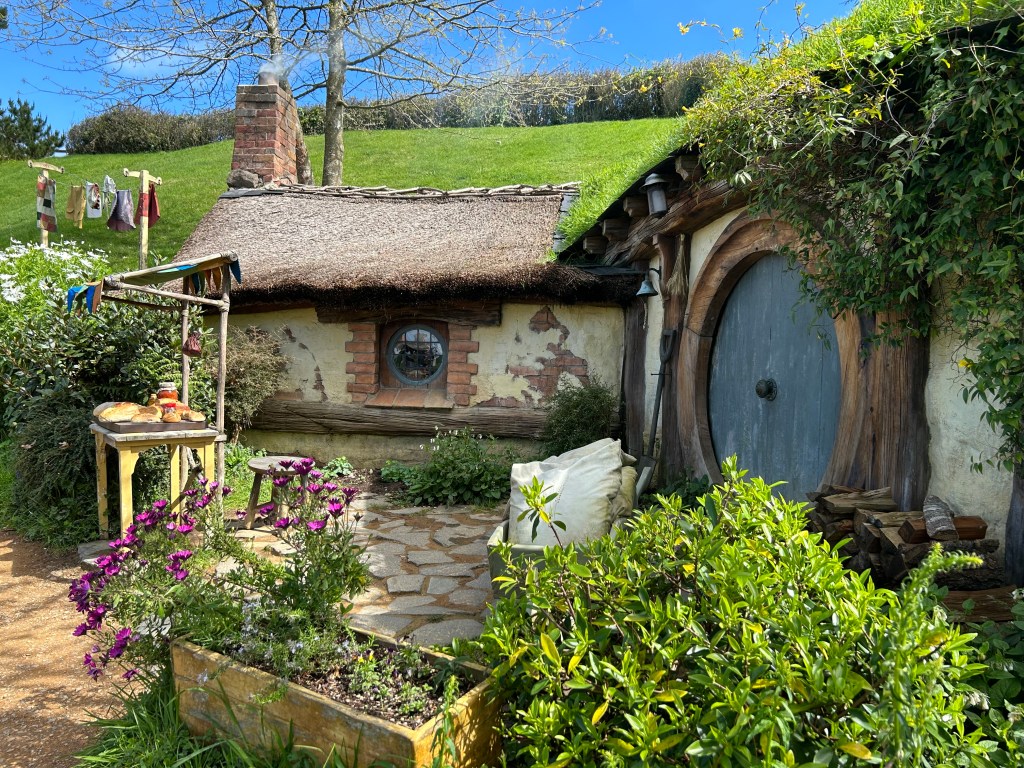
After leaving Rotorua early in the morning, we drove up to Alexander Farm which took around an hour. Even if you’ve not watched Lord of the Rings, you can’t go to NZ without visiting Hobbiton. It reminds me of Teletubbyland with endless rolling hills with immaculate green grass! There’s a movie set tour which takes 2.5 hours where they show you around the outside set of Hobbiton, and there’s also a fully constructed Green Dragon Inn. You can sit and have a drink, or opt for a ‘second breakfast’ or ‘evening banquette tour’ to have a meal as well.
Prices range from $180-$230NZD for an adult. You have to go around as part of a guided group; you park in a car park and get on a coach into the Alexander Farm. There are plenty of parking spaces here for larger motorhomes but I’d definitely pre-book your tour tickets as they can be hard to get hold of in the busy-season.
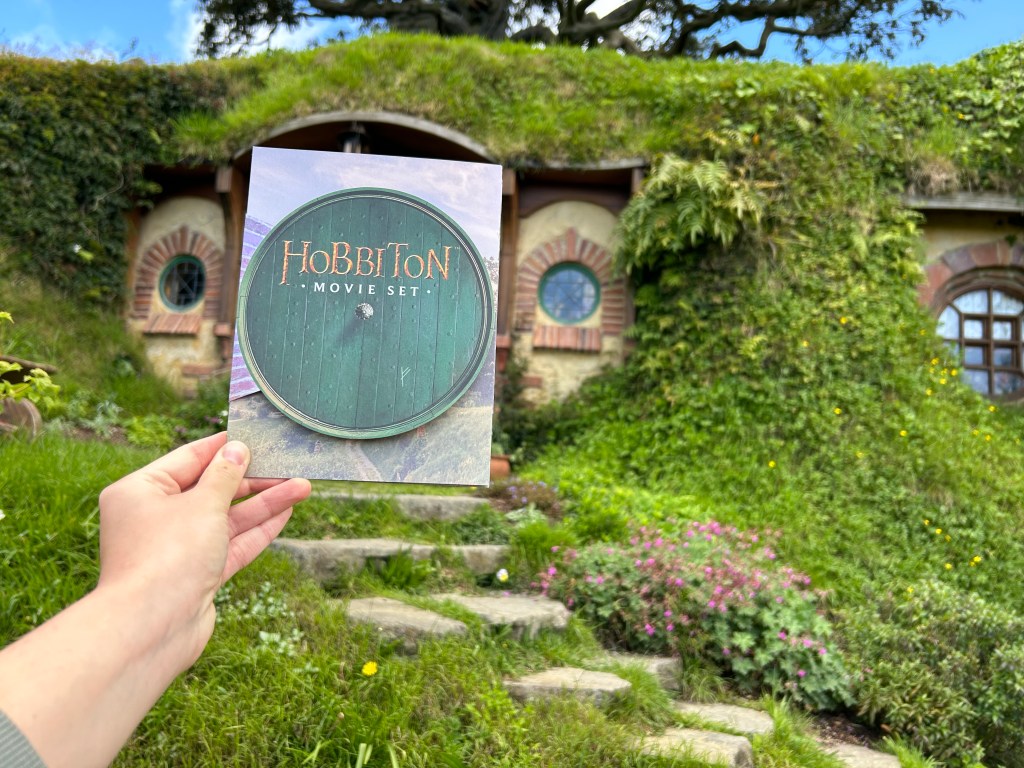
They have recently built a large-scale Bagshot Row, where you can actually explore inside Bilbo Baggins’ hobbit house!
Once we had finished, we drove the hour-and-a-half’s journey to Waitomo to see some worms!!! Now, I know what you’re thinking… why would you go all the way to New Zealand to look at some worms? But these aren’t just any worms, they’re glow worms, and they really are worth it!
We stayed at the Woodlyn Park campsite which was nice and remote, just a short drive from the centre of town and only cost us $10NZD for the night (although there were no amenities or power!). In the centre of town, there’s a really nice little ‘pub’ called Tomo Bar and Eatery which is right across the road from a children’s playground if you’re travelling with little ones like us.
Waitomo is most famous for its’ glowworm caves which are pretty cool to see even though you can’t take photos (booo), but there’s also a lesser-known spot for seeing them too which in my opinion is much better – AND it’s free!
In the day whilst it’s still light, take a walk through the Ruakuri bush walk and familiarise yourself with the paths and caves – it takes around 30-60 minutes depending on your pace and how often you stop to admire the views. As soon as it gets dark, head around the same trail and see the most incredible forest of fairy lights, especially either side of the main bridge and right at the start of the trail near the carpark.


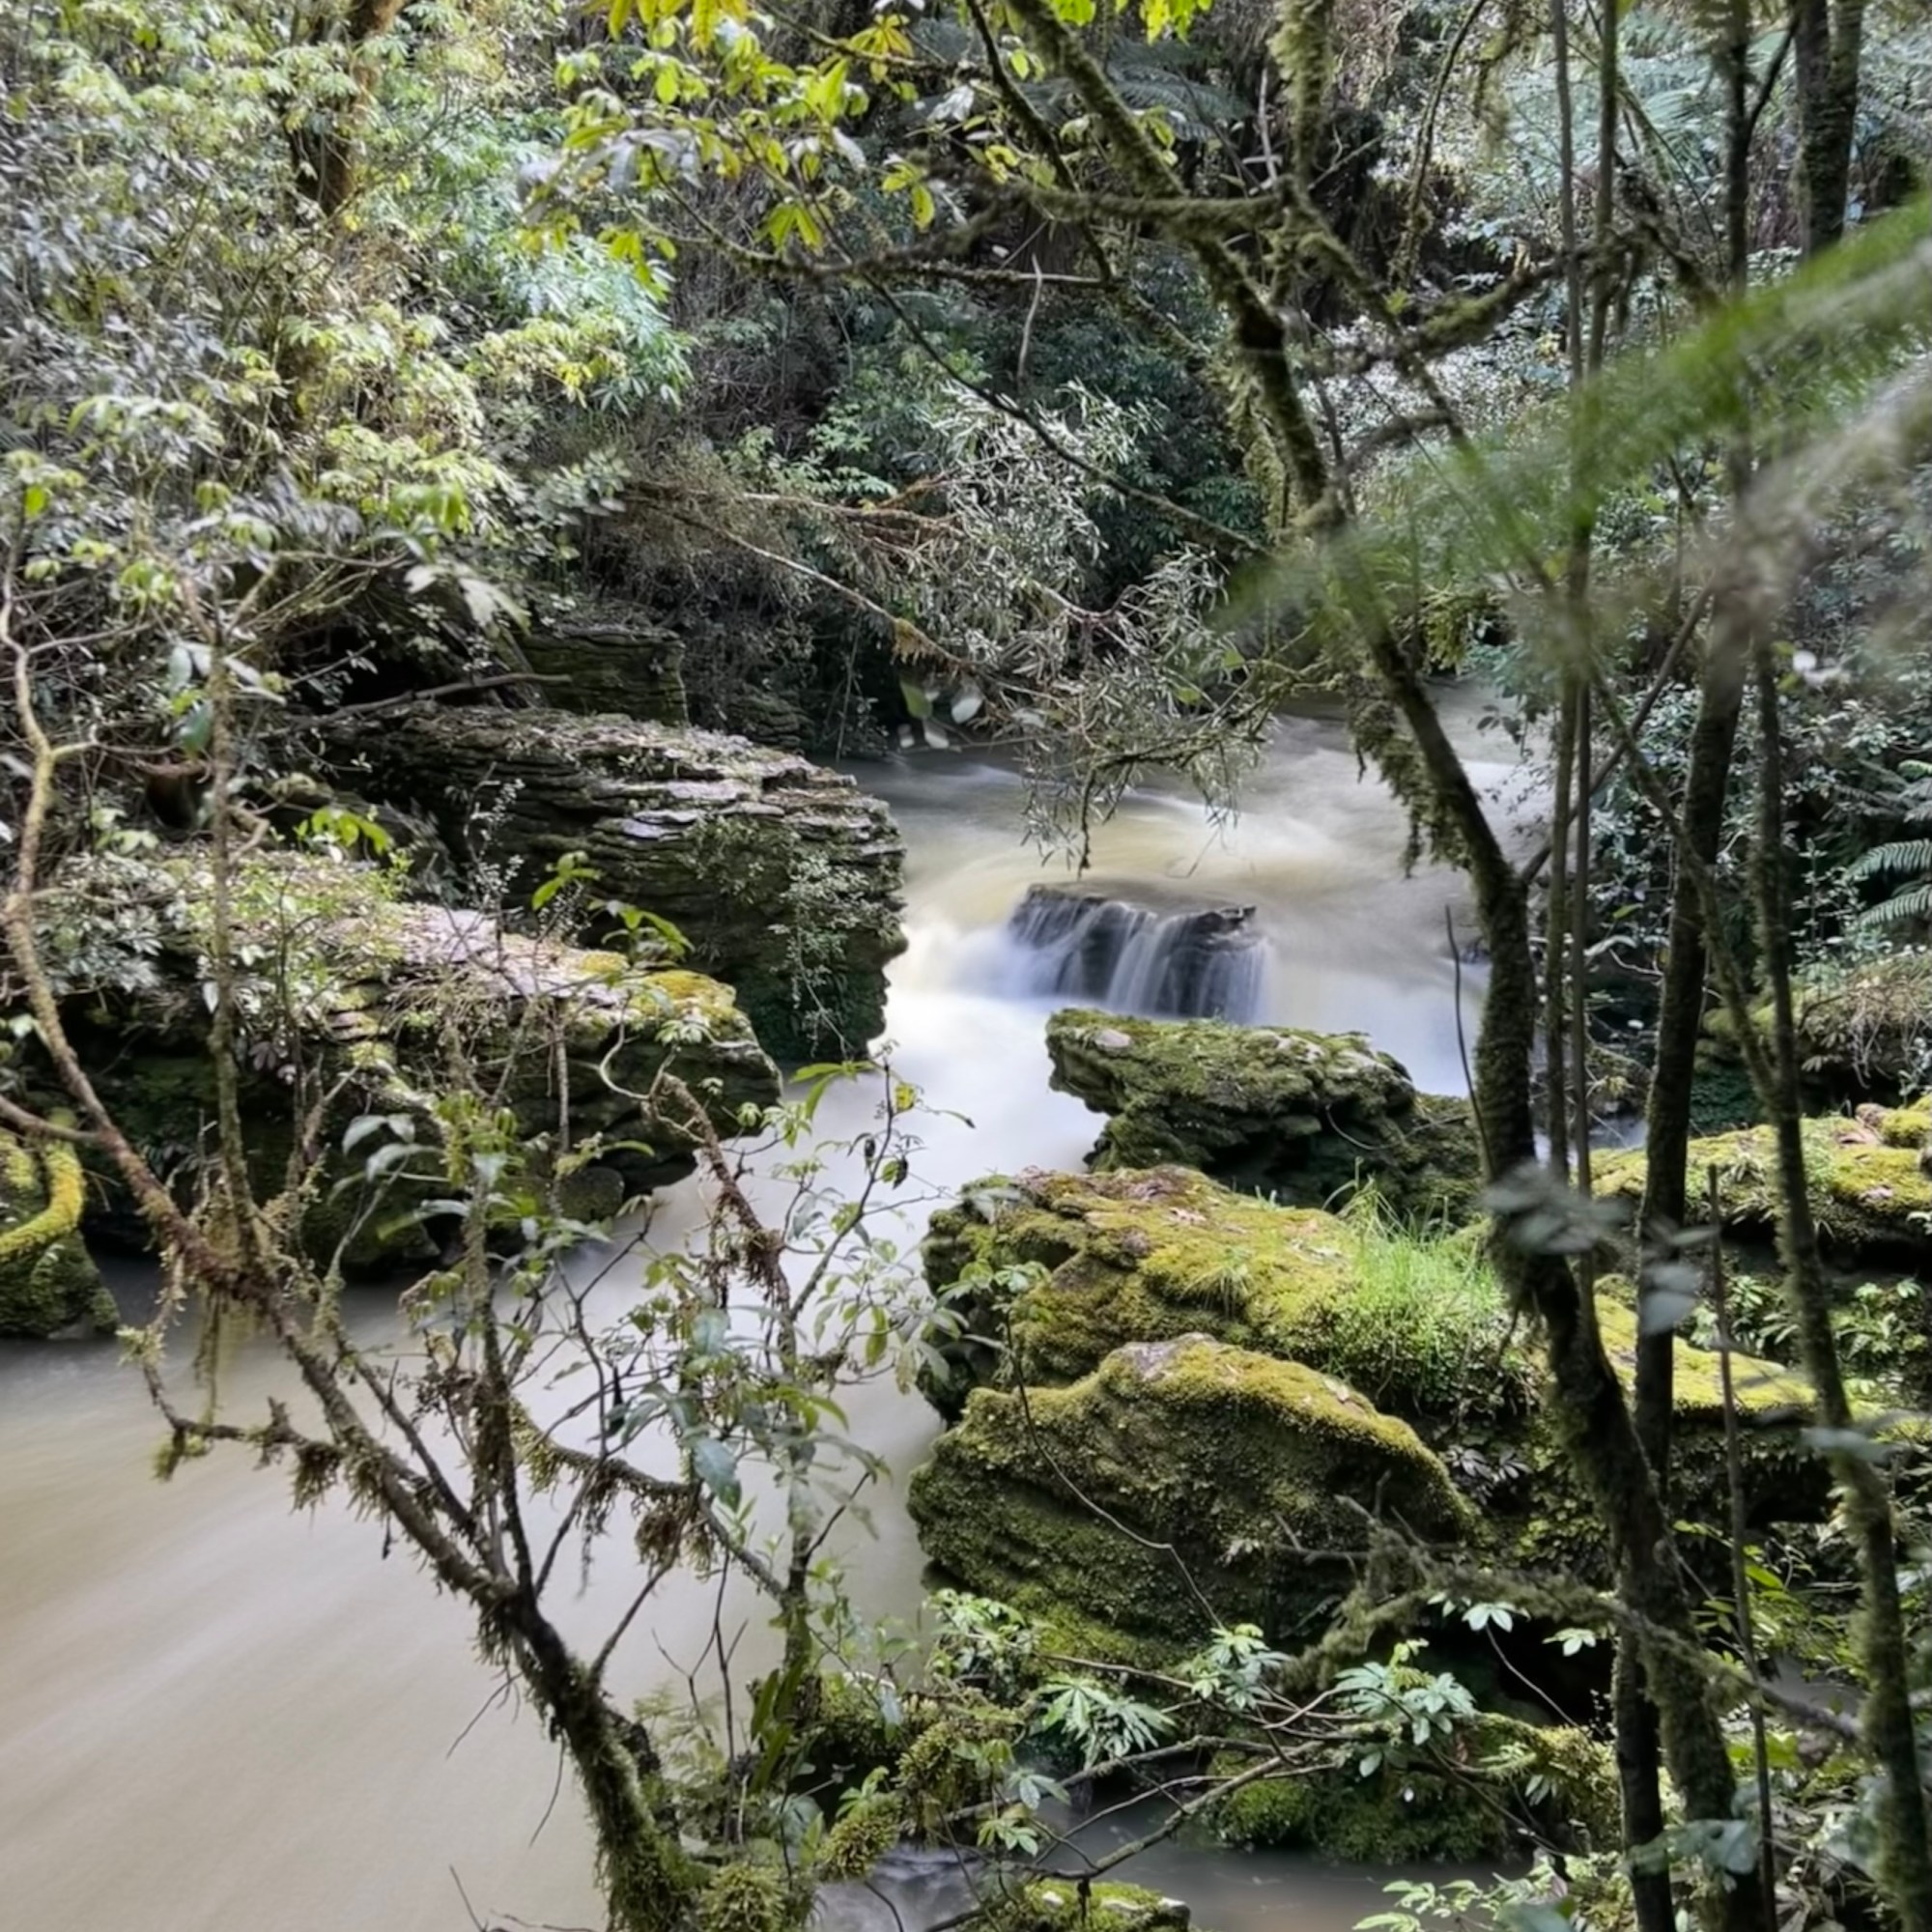

We did both with our 2 year old (yes, we did take her around at 9pm in the pitch-black and she loved it) but depending on your child, this might not always be possible. It’s definitely not pushchair friendly, so be prepared for a lot of carrying!
If glow-worms really aren’t your thing, there’s also black water rafting and ziplines in Waitomo, but I probably wouldn’t bother stopping here if you aren’t interested in seeing nature’s twilight dancers.
Day 19 & 20
HAHEI HOT WATER BEACH & WHITIANGA
The drive around from Waitomo to Hot Water Beach takes between 3 and 4.5 hours depending which route you take. Once you get up to a place called Kopu, you can cut across to the 25A road, or you can take the longer, more scenic route up along the coast. The 25A hadn’t been re-build following the 2023 floods when we visited so we had no choice but to go around the longer route, which was…. interesting to say the least. The actual coastal drive was stunning and there were some great places to stop for a cup of tea or a picnic, but once you got up to the Coromandel-Preece Point Airfield and took a right onto the 309 road, that’s when things took a bit of a turn. (I hope someone appreciates the pun there).
This road is hardly a ‘road’, more of a dirt track with a LOT of bumps and really REALLY sharp turns. In all honesty it’s not ideal for larger campervans, we made that mistake! Having said that, despite the perilous conditions, there is one really cool part which is the pigs. Not long after you turn onto the road, you come across loads of pigs and piglets running around across the roads and fields; you can get out and see them but do it with caution!
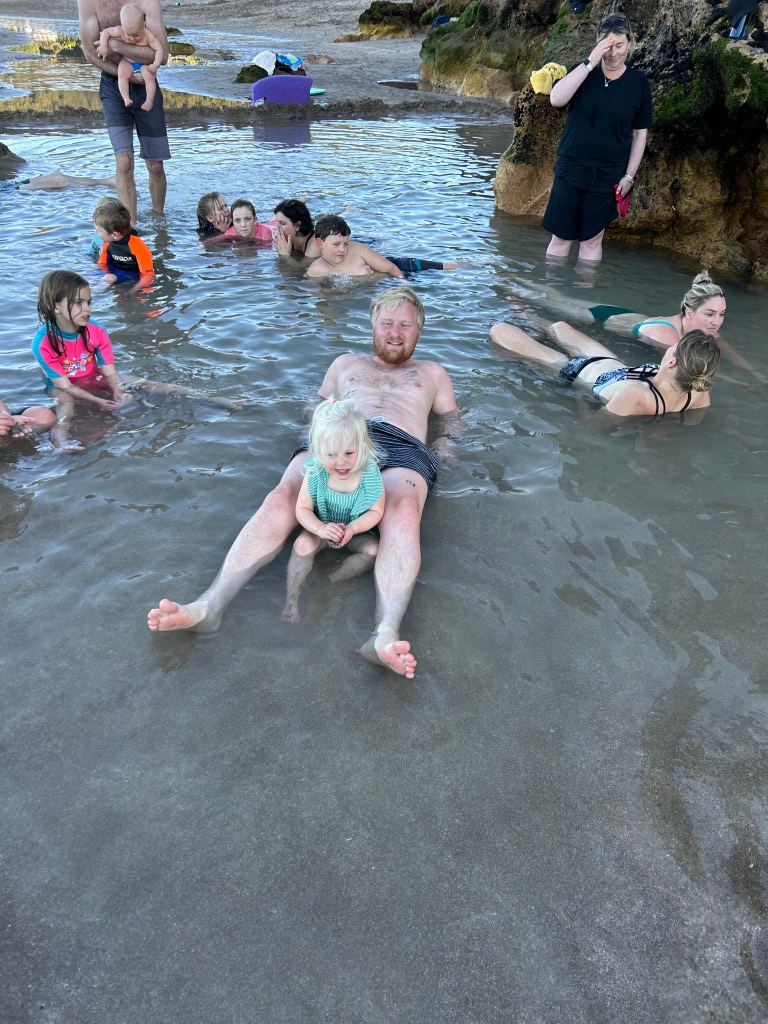
We spent the first night at Hot Water Beach Top 10 Holiday Park which was really big with great amenities. It’s only a 10 minute walk away from the beach and we got there at the perfect time to go and dig our hot tub! You only have a 2 hour window either side of low tide so make sure to look at the times first – you can find all the info here on the holiday park’s website. They had shovels to rent, but in reality we didn’t need them because there were already loads of huge holes dug by other people so unless you get there at a super quiet time (in which case you’re lucky!!), you probably won’t need them. Don’t think about using your hands though; in some areas the water and sand are so hot it burns you so just be cautious with young children.
We woke up the next morning and drove the 20 minute trip north to Whitianga. Whitianga was a beautiful seaside town with nice bars and views of the sea. From here, you can do a boat trip around to Cathedral Cove, look at the beautiful wildlife in the marine reserve and even get out and walk along the golden sand beaches. There are a few different trips offering different things, but the one we opted for was a glass-bottomed boat as we didn’t plan to get off at the cove, and it was much nicer for our 2-year old to see the fish under the boat!
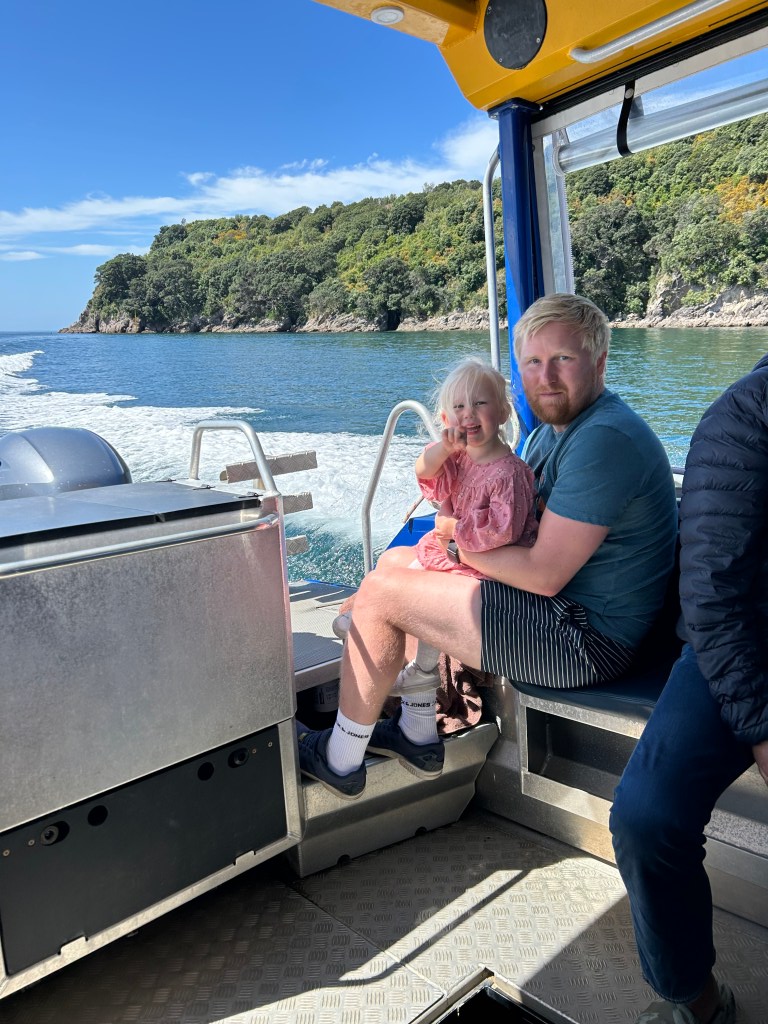
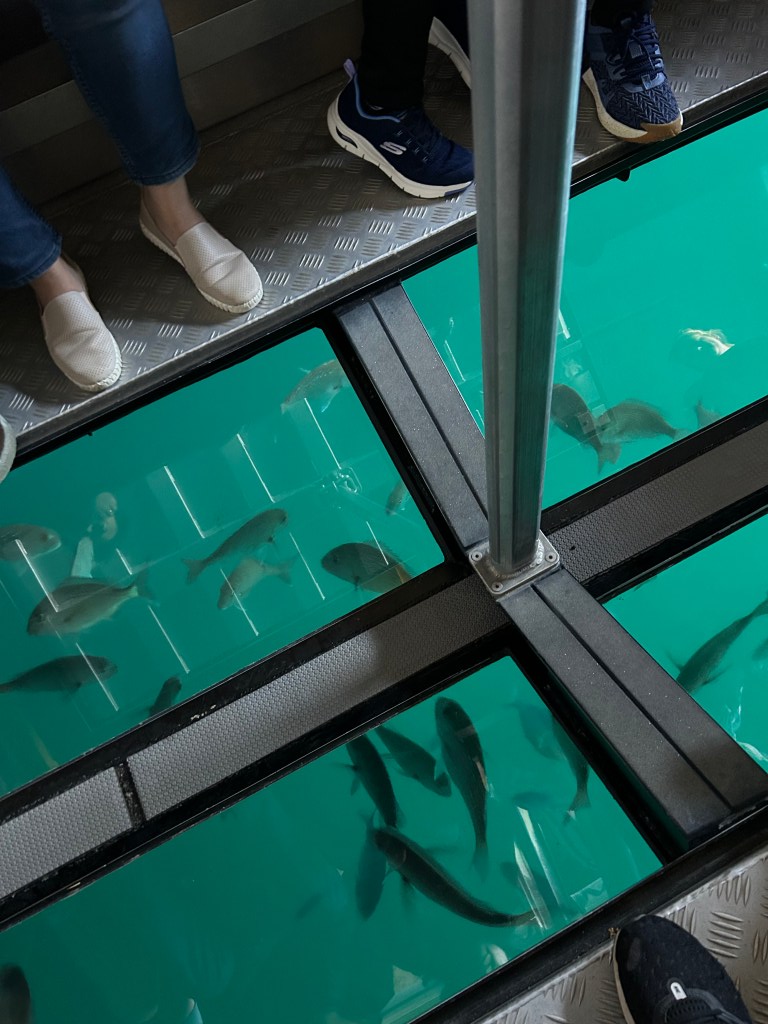
We did get the opportunity to get out and snorkel but Scott was the only person on the boat who chose to, and quickly changed his mind (it was just coming into Spring when we went and the water was still bitterly cold, even on the most beautiful of days!). We got given handfuls of fish-food to chuck out in the water and we could watch swarms of wonderful fish come up to the surface. We stayed at Mercury Bay Holiday Park which had everything we needed, including a playground for our toddler!
We actually went straight from Hot Water Beach to Auckland and flew out the following day, so sadly missed out on Northland, but if you have a few extra days I would 100% recommend carrying on north as it’s something I really regret not doing!
Day 21, 22 & 23
NORTHLAND
One thing that we didn’t do, that we wish we had made the time for, was Northland; the area right at the top of the North island which has luscious beaches, wonderful marine life, cultural colonial era towns and mystical forests.
Whangarei is the northern-most city of NZ and features the stunning Whangarei falls, and Whangarei Quarry Gardens. It’s about 3-hours north of Whitianga and starts the 3-day loop of Northland. From here, head an hour and a half north to Russell where you can stay the night. Russell was the first European settlement and seaport in New Zealand and is rich with history, cafe’s eateries and galleries. It’s situated in The Bay of Islands which is one of the most popular places in New Zealand!
The following day head around the bay to Paihia, and visit the historic Waitangi Treaty Grounds to immerse yourself in more Maori culture and hangi cooked food. Paihia is a great spot for boat trips out into the Bay of Islands to explore the marine life and caves.
When you’re finished, drive the 3-hour trip up to Cape Reinga, the northern-most tip of the country. There’s a lighthouse with stunning views over the blue waters, and some giant sand-dunes where you can have a go at sand boarding.
The following day, head down to Waipapakauri and take a stroll down the never-ending paradise of golden sand that is the 90-mile-beach (which is actually only 55 miles long….). Once you’ve cleared your head and soaked up the fresh air, keep going south to Waipoua Kauri Forest to see the largest kauri tree in New Zealand (it has a diameter of more than 4m!). There are very few accommodation choices on the west side of Northland so you might have to pay a bit more, or drive a bit further to find somewhere cheap/free.
Day 24
AUCKLAND
On your final day, drive into Auckland and explore the city (depending on the time of your flight). If your flight is the following day, I’d advise to stay in a hotel near the airport that night so you can check your luggage in and have a proper shower with some luxury comforts before your flight home. After 3 weeks in the peace of the countryside, it might be nice to spend the evening going for a nice meal and a couple of drinks (again, depending on your flight time) to celebrate the last night and try and beat some of the final-night-blues we all inevitably get!
So… that’s it! That’s 24 days travelling through one of the most beautiful places in the world!
Of course, if you have longer then there are lots of other places you can add in en-route, but not everyone has the luxury of ‘unlimited time’ so we’ve been as selective as possible and only recommended what worked for us and what we think gives the best insight into the country and the kiwi culture!